Hello Everyone,
Today i am going to share what are affects when integration with website on Dynamics 365 Customer Insights.

Let’s get’s started.
Dynamics 365 Customer Insights – Journeys provides several features that enables contacts to interacts directly with the system.
Features are as follows:
Landing pages: provides forms that contacts can use to register for mailing lists, free downloads, webinars, other perks…
Subscription Centers: enables contacts to manage their mailing list subscriptions and personal information.
Forwarding pages: enables contacts to forward marketing emails they’ve received from you(while preserving accurate tracking info).
The event websites: enables contacts to read about and register for your events.
Each feature requires one or more webpages that are publicly available on the internet. Each page must be able to retrieve information from Dynamics 365 Customer Insights – Journeys and be able to send data back to it.
Two ways to accomplish this:
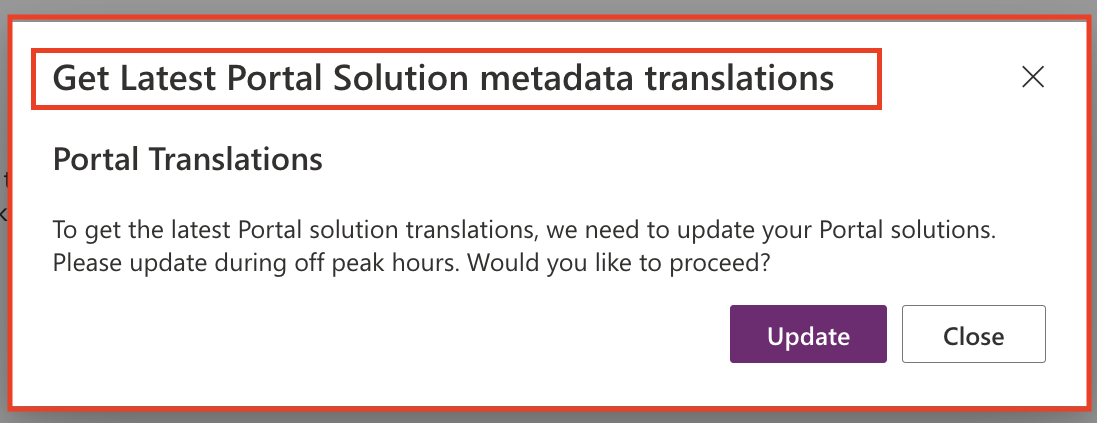
Use Dynamics 365 Portals or Power Pages: This Option is based on a Dynamics 365 add -on Product that runs directly on the same tenants as your Dynamics 365 Customer Insights – Journeys instance.
It enables you to go live with Marketing without needing to manage or modify your own website.
Use Your Own website or CMS system: This option requires that you have your own website where you can host pages, add scripts and embed forms from Dynamics 365 Customer Insights – Journeys. You can use this option in parallel with Power Pages if you wish.
That’s it for today.
I hope this helps.
Malla Reddy Gurram(@UK365GUY)
#365BlogPostsin365Days