Hello Everyone,
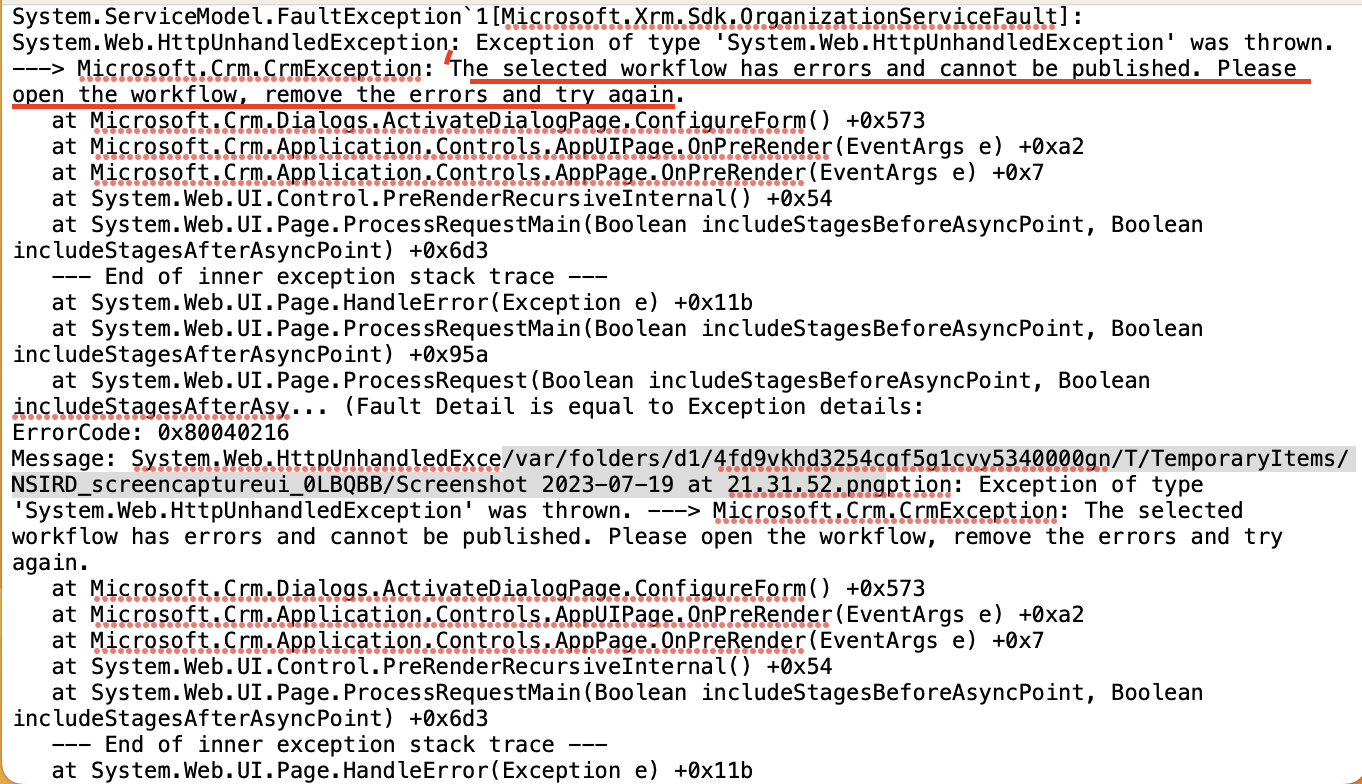
Today I am going to share how to resolve the error: “The selected workflow has errors and cannot be published. Please open the workflow, remove the errors and try again.”

Let’s gets started.
I got this error message while importing the solution into UAT from Dev as unmanaged.its because of the workflows has error messages.
“The selected workflow has errors and cannot be published. Please open the workflow, remove the errors and try again”
What is the error complaining all about?
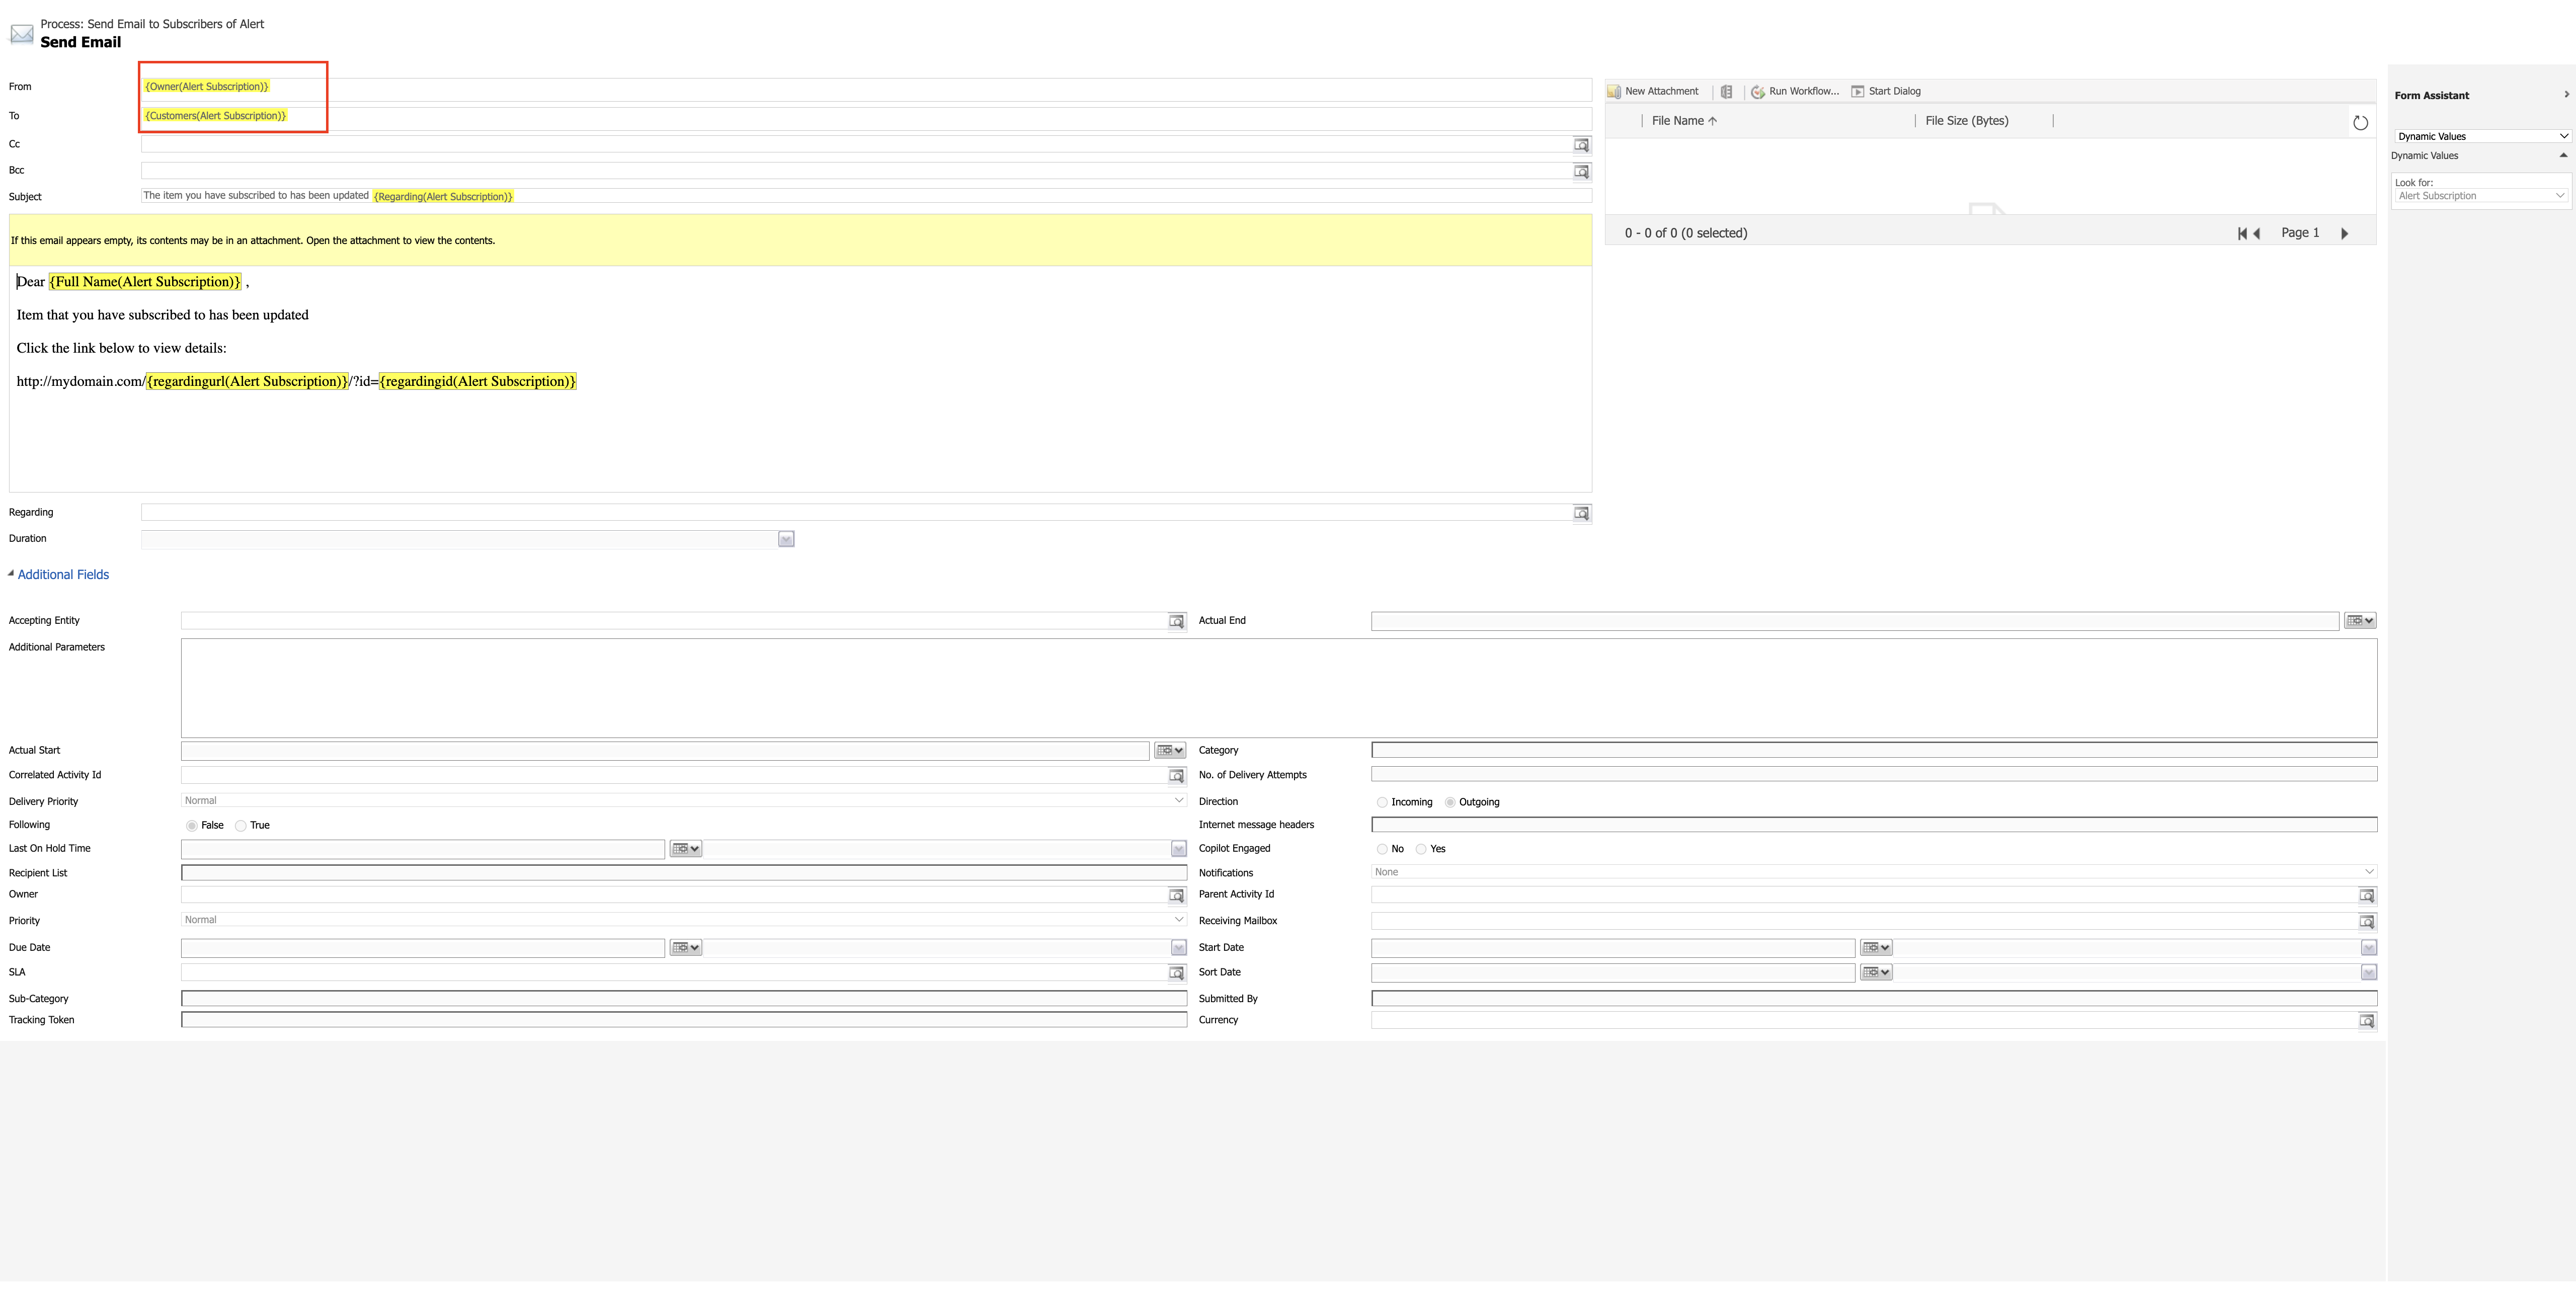
Solution: First make the workflows as draft state and publish all customizations and then start importing the solution into the UAT and after successful import, then open the solution and edit the workflows as below:
It is complaining about the workflow that has been manually selected users for email notifications users, business units and regions in my case.
So i have removed the users for the email notifications and reselected the same users, business units and regions.
Then i have activated the workflow.
It works for me.
That’s all for today.
I hope this helps
Malla Reddy(@UK365GUY)
#365BlogPostsin365Days