Hello Everyone,
Today I am going to show how to do simple business automation with Power Automate Desktop.
Things must have:
1. You should download Window Desktop or Laptop to download Power Automate Desktop
2. Download Power Automate Desktop for free from
HereOnce Power Automate Desktop(PAD) Installed, Pin it to your taskbar.
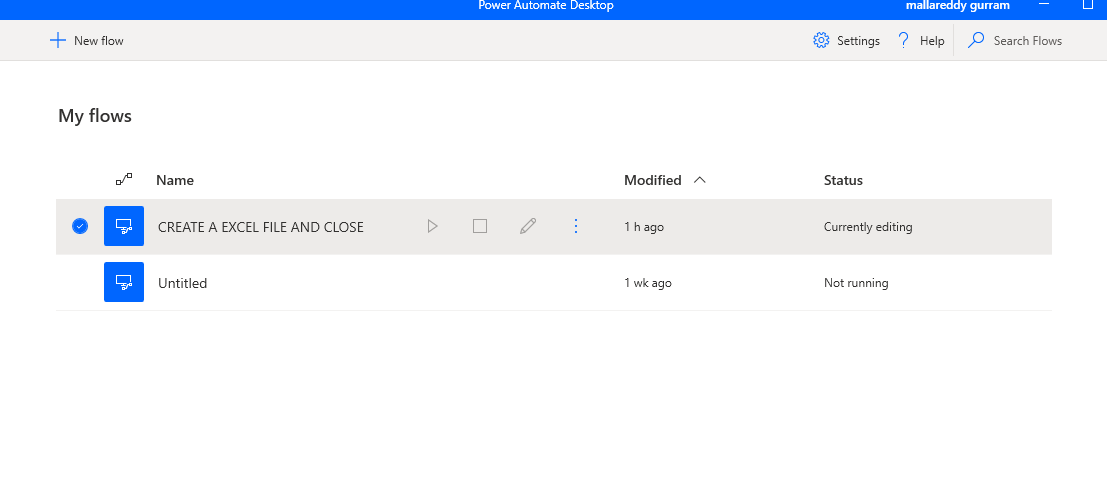
Open the PAD and cretae a new flow “Create a excel file and close”
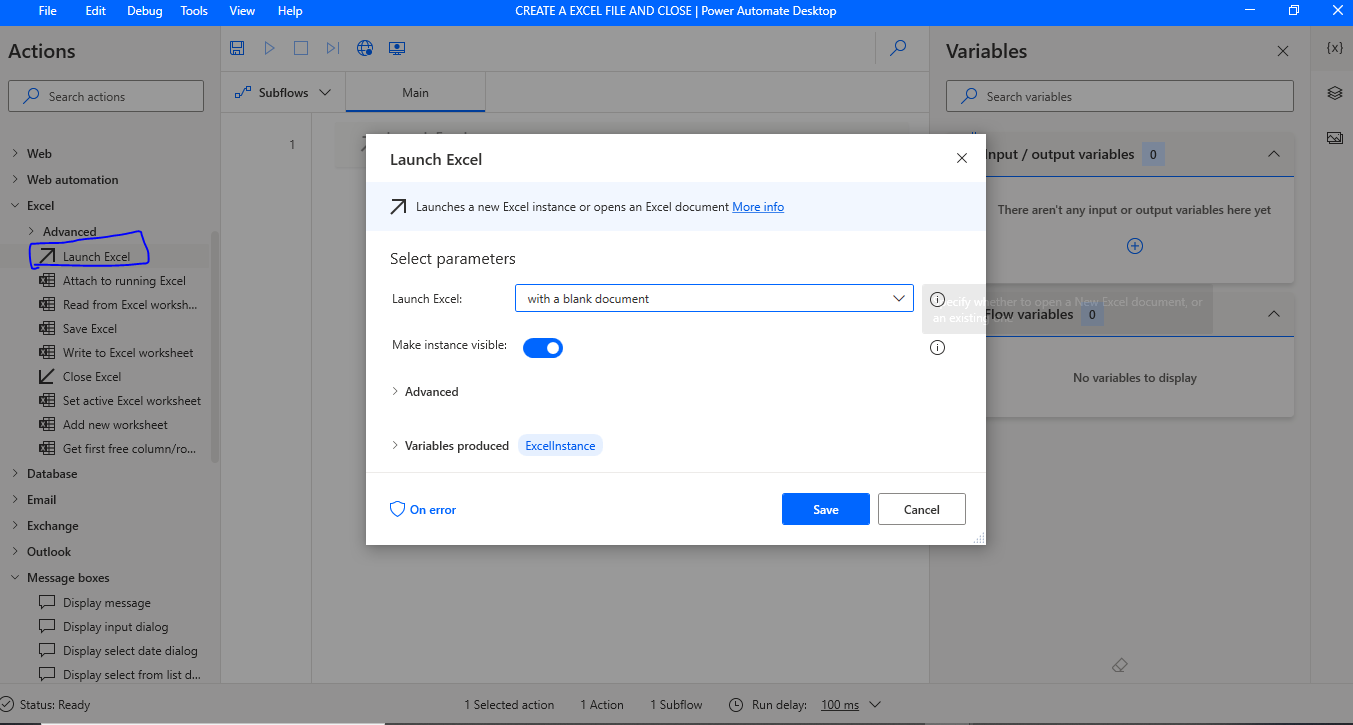
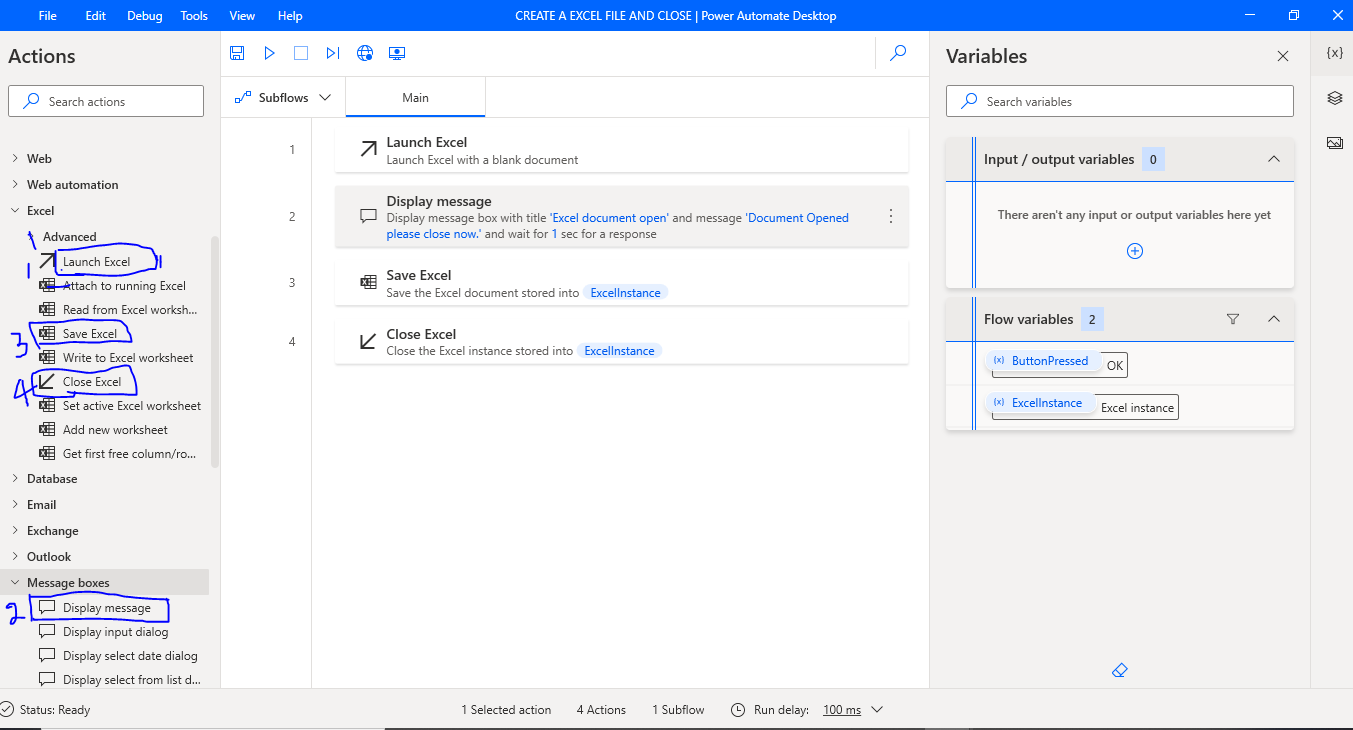
Open newly created flow and open the Excel tab, drag the “Launch Excel”.
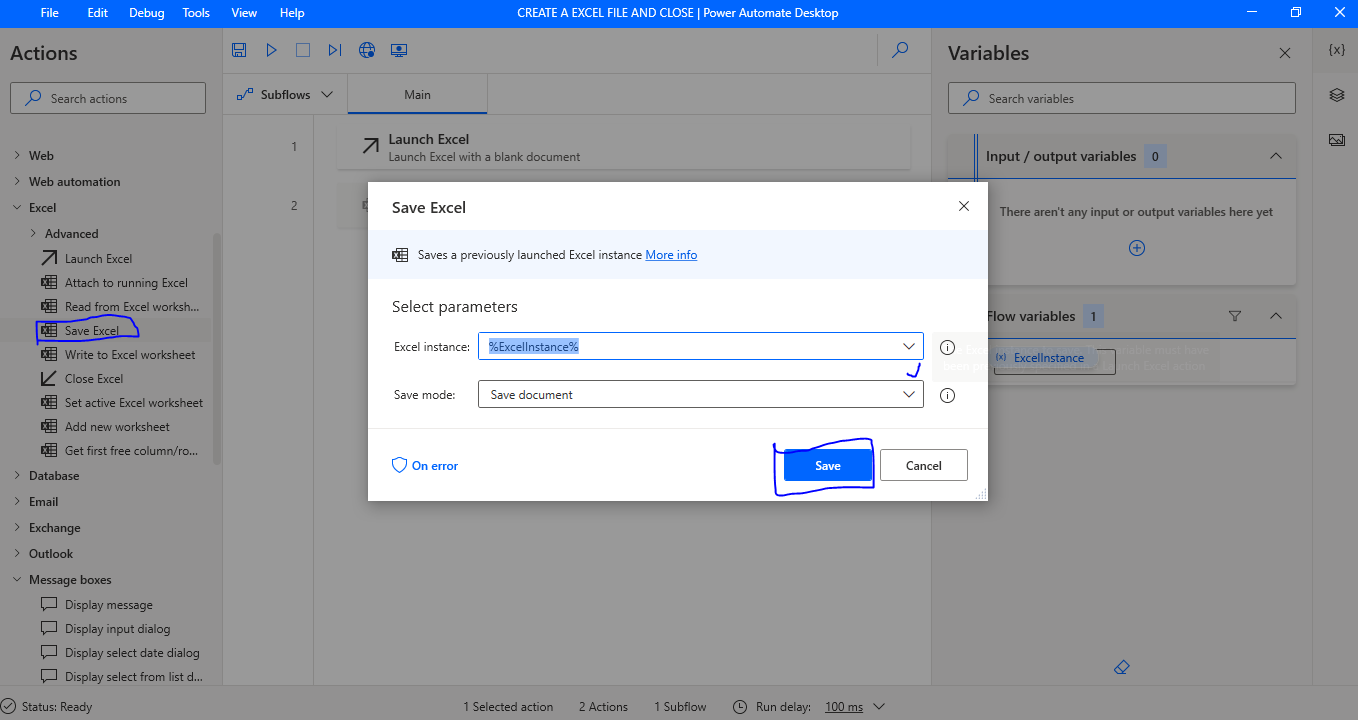
Click save…
Then drag the “save file” from excel tab again, click on save button.
Drag the “Display Message” box from “Message boxes” Give message box title, message to display, “message box icon” i have chosen “information”,
Message box button “OK”.
Default button First button.
Keep Message box always on top slide button to yes.
Close message box automatically again a slide button to yes.
Timeout set to “1”.
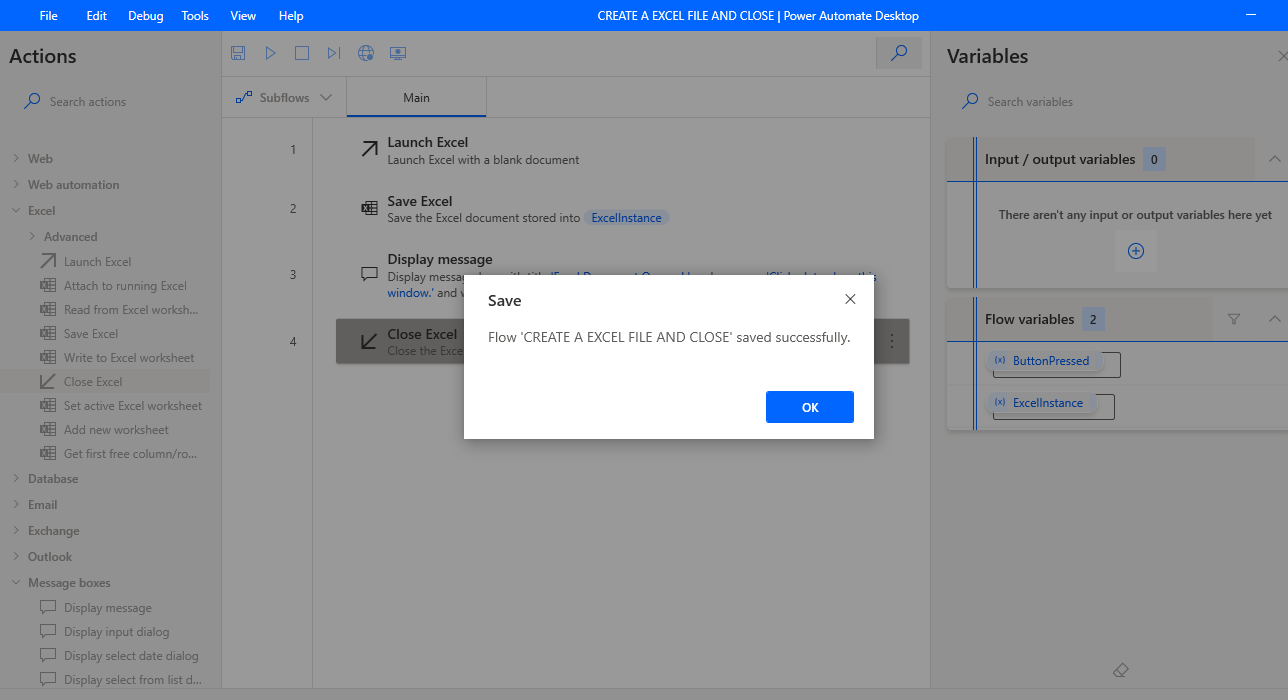
Finally click Save.
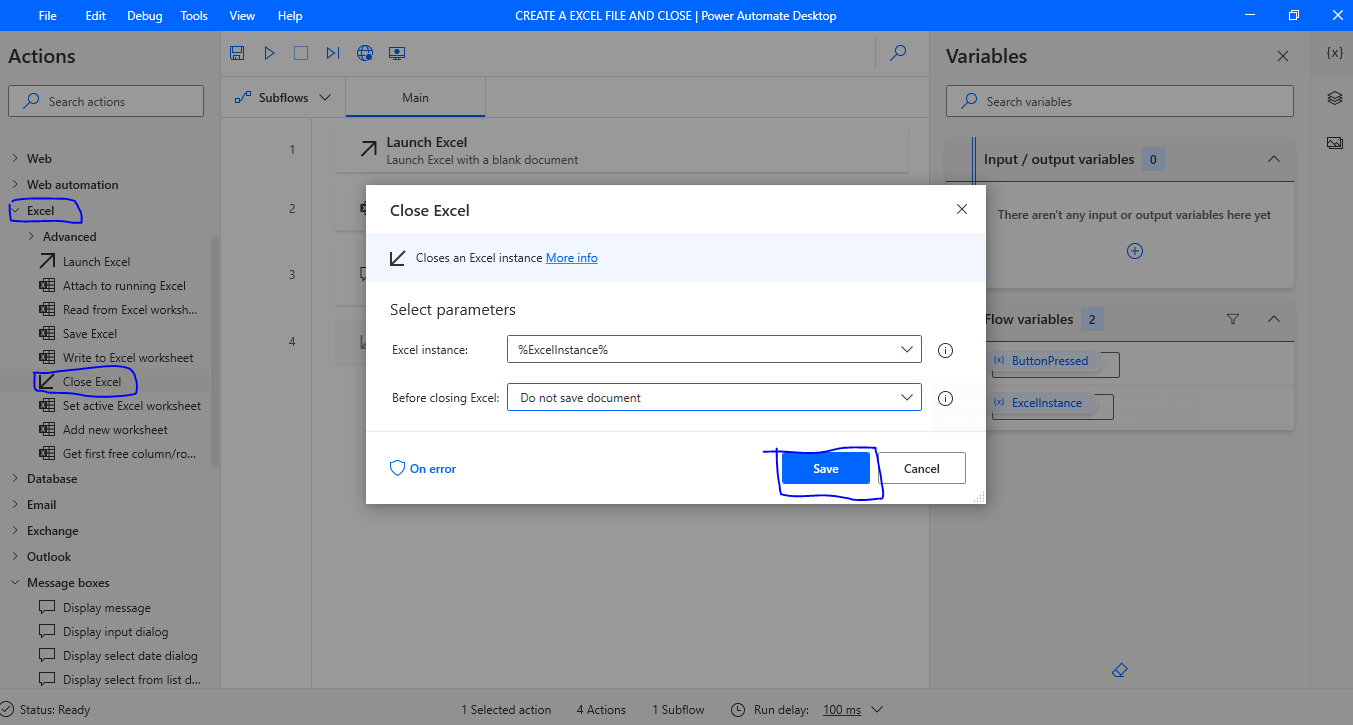
Lastly drag the “Close Excel” and click save.
So you will see all the steps like below image:
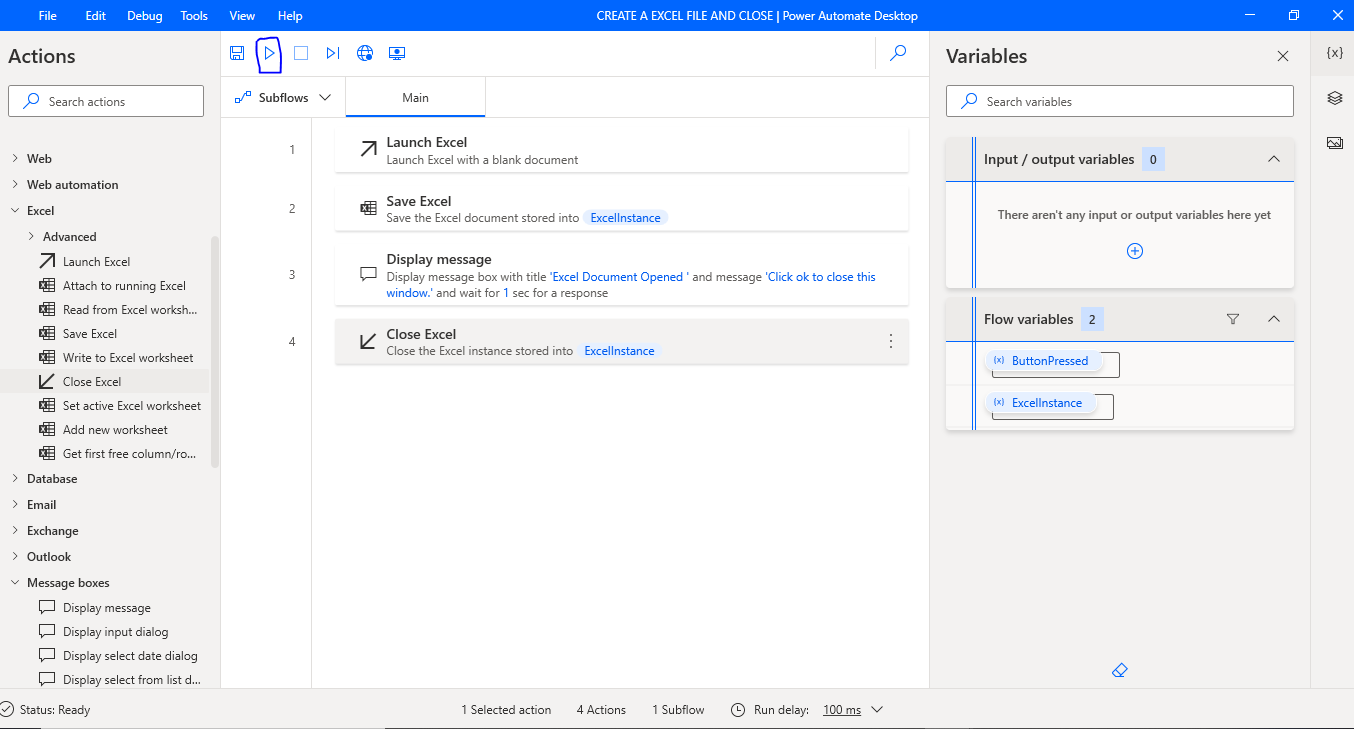
Now you can click on play button to see the Power Automate Desktop process in action.
This is a simple PAD where you can automate to process with just click of a button.
I hope this helps.
Malla Reddy(aka UK365GUY)