Menu Close

Category: Blog

MICROSOFT DYNAMICS 365 FIELD SERVICES WORK ORDER LIFE CYCLE

WORK ORDER LIFE CYCLE

Field Services Work Order Life Cycle have 5 steps to follow:
1.Work Order Creation.
2.Schedule.
3.Dispatch.
4.Service.
5.Review/Approval.


So in each step that there are 4 work items always updated according to the work type:
1.What Happens
2.Who Performs
3.Work Order Status.
4.Booking Status.

Finally the Review/Approval step have booking status changes to completed.

Share this:

MICROSOFT DYNAMICS 365 FIELD SERVICES WORK ORDER CREATION STEPS

CREATE AND MODIFY WORK ORDER TYPES

1.Click the module drop-down selector on the Navigation bar.
2.Click Field Service.
3.Click the right arrow to see Administration.
4.Click Administration.
5.Click Work Order Types.
6.Click New
7.In the Name fields type “Break Fix”.
8.Click the Incident Required field to change the value to Yes.
9.Click the Price List field.
10.Click the Lookup icon.
11.Select Default Price List.
12.Click SAVE.
Share this:

MICROSOFT DYNAMICS 365 FIELD SERVICES BOOKABLE RESOURCES

BOOKABLE RESOURCES:

1.Users, Equipment, Accounts, Contacts, etc that are used to service work orders.


2. Characterisitics (skills and certifications) and Category Associations can be included for better scheduling.


 Review

1.Out of the box Field Service has several different items that will need to be configured.
2.Using Products and Price Lists allows for using different products pricing based on the Account, Work Order,Etc.
3.Resources are Users, Equipments, Accounts, Contacts, etc. that are used to service work orders.
4.Territories can be used to limit results in the Scheduling Assistant as well as filter the results in the Schedule Board.

Share this:

MICROSOFT DYNAMICS 365 FIELD SERVICES PRODUCTS AND SERVICES

PRODUCTS AND SERVICES

1. Anything the Company Sells
2.Maybe added Manually to a work order
3.Can be added automatically to a work order from and incident
4.May be marked as “used ” billed to a client or left as “estimated” on a work order.

PRODUCTS AND SERVICES CATEGORIES:

1.Inventory : Products sold and deducted from inventory.
2.Non-Inventory: Products sold but not tracked in inventory 
3.Services: Sold on time and materials Basis
 a) List Price and costs are hourly rates.

4.Duration of Services:
a)Manually Entered on Mobile by Field Agent
b)Dervied from elapsed time between Work order Schedule Statuses.

PRICE LISTS:

1.Define different Pricing Levels
2.Specify how much a customer is charged for products and services
3.Are noted on the Account,Work Order, Agreement, or Individual or Service.


PRICING FEATURES:

1.Minimum Charge Amount
a) Sets the Minimum amount for the visit.Value is added on to final price regardless of the Amount charged.
2.Minimum Charge Duration
a) Can make the first X amount of time Free.
3.Flat Fee Option.


ADDITIONAL INFORMATION:

1.The Work Order Price List is used if a Product has a different default price list than the work order.
2.The Price of the Product will come from the List Price on the Product if an Item is not on the Work Order Price List.
3.Add Products and Services to Price Lists.
4.Add Products and Services to Incidents when adding Products and Services to Work Orders.

Share this:

MICROSOFT DYNAMICS 365 FOR FIELD SERVICE DEMO DATA

Install Dynamics 365 for Field Service Demo Data Steps:

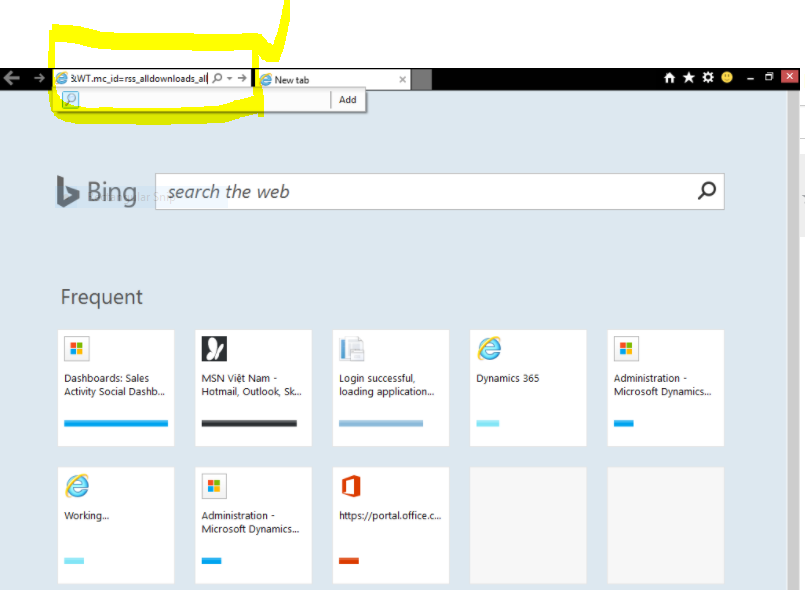
1.Click the Address bar


2. Type https://www.microsoft.com/en-us/download/details.aspx?id=55320


3. Press the Enter key.
4. Click the Download button.
5.Click the save drop-down arrow.
6. Click Save as.
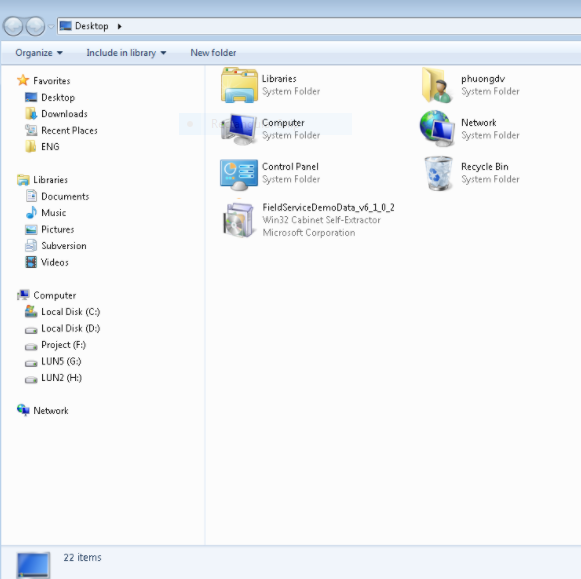
7.Click Save to save the FieldServiceDemoData_v6_1_0_2 file to the desktop.
8. Click Open folder.


9.Double Click the FieldServiceDemoData_v6_1_0_2  file
10.Click Run.
11.Click Yes to accept the license agreement.
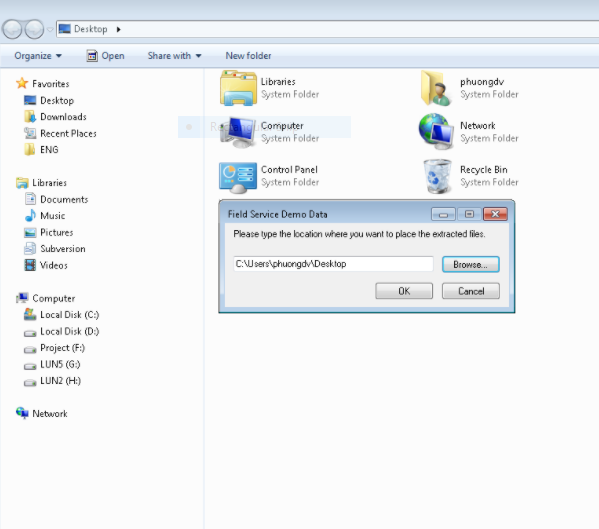
12.Click Browse .. to choose a location extract the data.


13.Select Desktop.
14.Click Ok.
15.Click OK.
16.Right click the FieldServiceDemoData.
17.Click 7-zip
18.Select Extract to “FieldServiceDemoData”.
19.Double-Click FieldServiceDemoData.
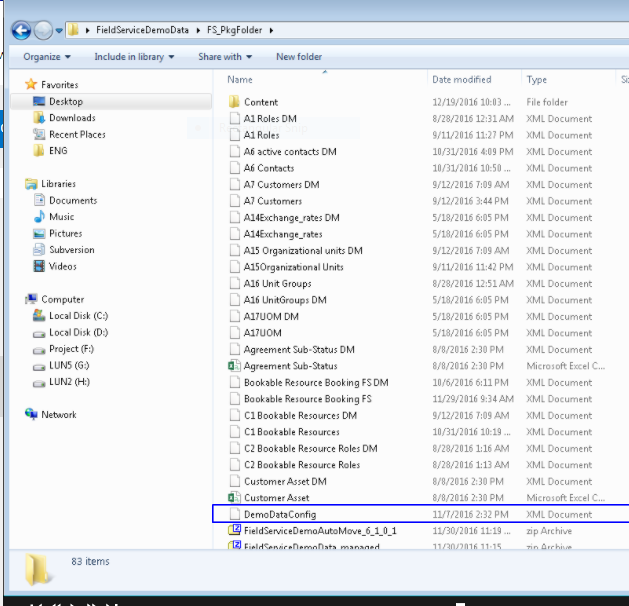
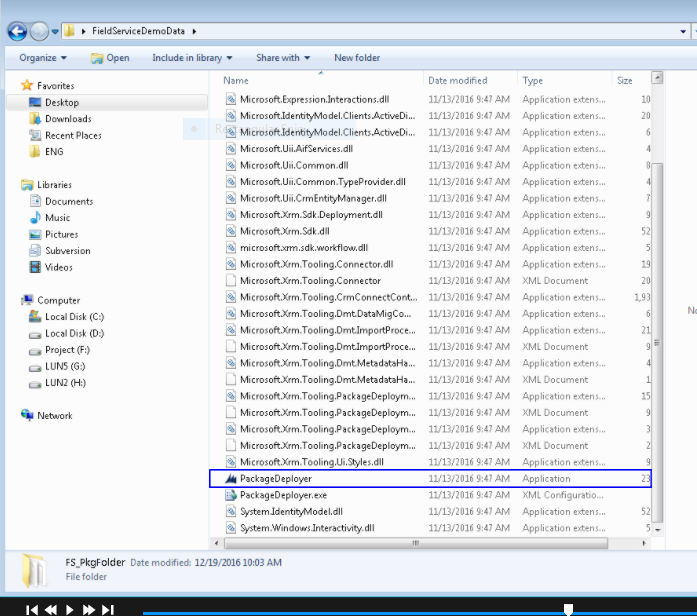
20.Double-Click FS_PkgFolder in the extracted FieldServiceDemoData Folder.
21.Right-Click the DemoDataConfig file.


22.Click Edit.
23.Click the NewName Value.
24.Type a user in your Dynamics 365 Deployment.
25.Click Save to save the DemoDataConfig file.
26.Click Close.
27.Click FieldServiceDemoData.
28.Scroll down to see PackageDeployer


29.Right-click the PackageDeployer application in the FieldServiceDemoData folder.
30.Click Run as Administrator.
31.Click Yes on the User Access Control message.
32.On the welcome screen, click continue.#


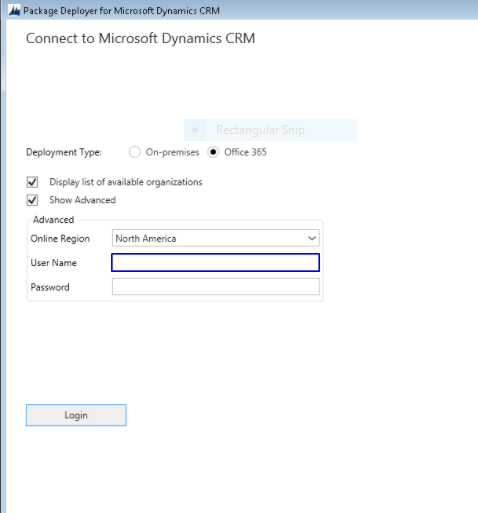
33.Select Office 365 for Deployment Type.
34.Select the Display list of available Organisations check box.
35.Select the show advanced check box.
36.Click the Online Region drop-down .
37.Select the Online Region to your Region , for example: North America.


38.Click  the User Name field.
39.Type your user name.
40.Click the password field.
41.Type your password.
42.Click Login.
43.Select Dev-gmritsolutions.
44.Click Login.
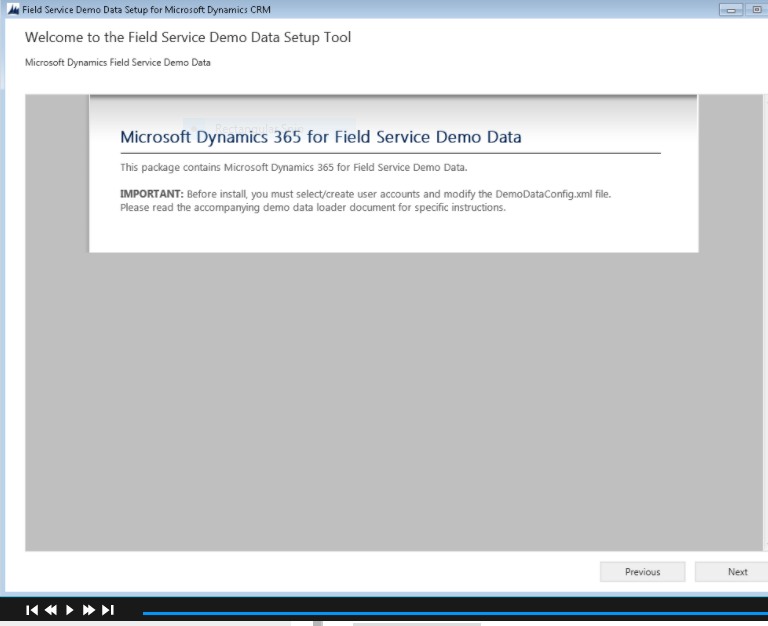
45.On the Welcome to the Field Service Demo Data Setup Tool screen, click Next.


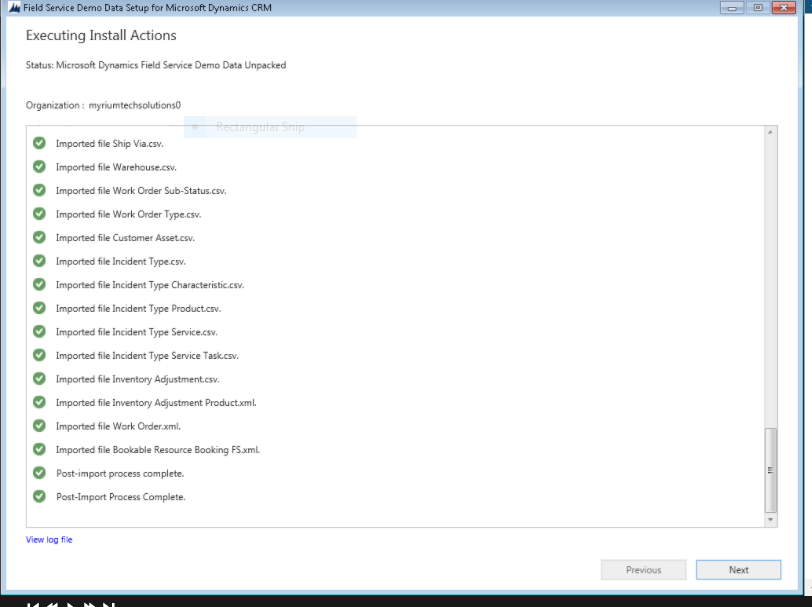
46.On the Ready to install screen , click next.
47.Click Next.


48.Click Next.
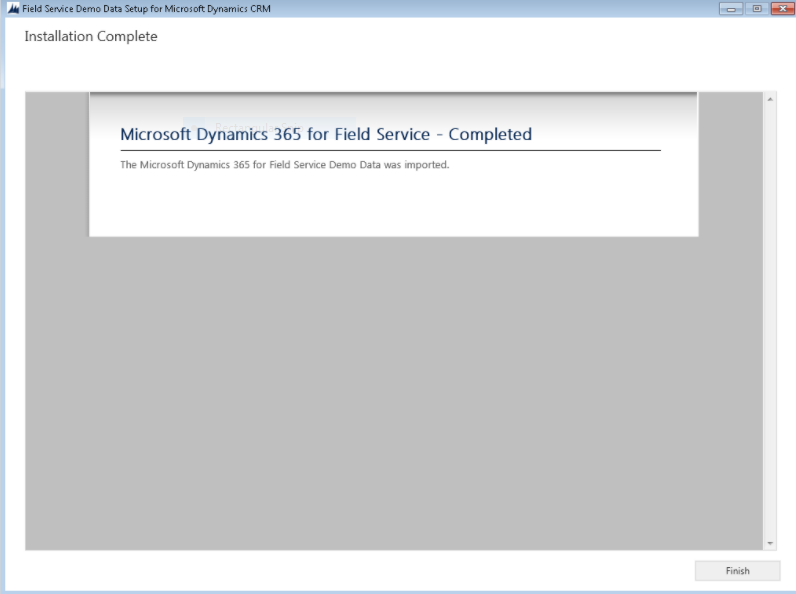
49.Click Finish to complete the Field Service Sample Data installation. 


I hope this helps..

Share this: