Menu Close

Category: Blog

{Resolved} Error Selected in the form field does not have the option enabled to allow other users to send emails to their users in Dynamics 365 Sales

Hello Everyone,

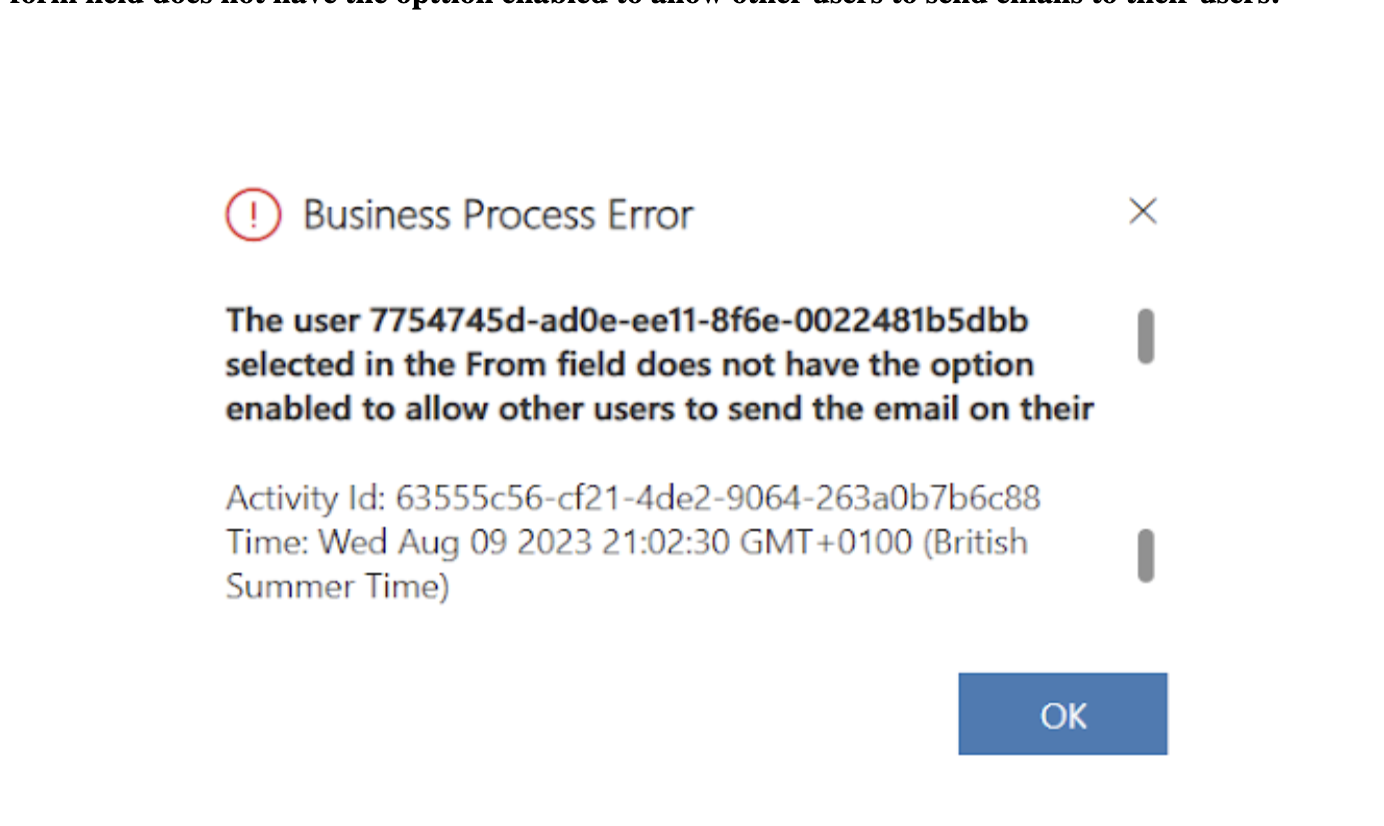
Today i am going to show the solution for “Error Selected in the form field does not have the opttion enabled to allow other users to send emails to their users.”

Let’s get’s started.

Suppose you have an Opportunity and based on the business process flow step condition it should send an email to the appropriate user to approve an email to move to the next stage of business process flow in the opportunity.

So when a user tries to send an email to the approver user then this error pops up – Error Selected in the form field does not have the opttion enabled to allow other users to send emails to their users.

Solution: Email sender should have mailbox enabled in Dynamics 365 sales and email is approved then the user can send email to the approver.

Or

You can change the record owner of the opportunity to the mailbox enabled user and should be able to send email to the approver.

That’s it for today.

I hope this helps
Malla Reddy(@UK365GUY)
#365BlogPostsin365Days

Share this:

{How to} Create AI-generated deployment notes in pipelines for Power Platform

Hello Everyone,

Today i am going to show how AI generates a deployment notes in the pipleline for Power Platform.

Let’s get’s started.

What is AI generated Deployment in the Power Platform for Power Platform?

Suppose sometimes solutions becomes complex, contains hundreds of components in it, so it would be difficult to partition and summarize.

With the pipeline deployments, admins and deployment approvers will have to open the solutions themselves to gain access an understanding of what’s included unless that information is provided in the deployment notes.

By helping makers generate useful solution descriptions with AI automatically during their deployment, a simple click prevents intervention from an admin to understand the purpose of a deployment to approve it and properly manage it.

Note: Before you apply the AI generated description read the description and click apply changes.

That’s it for today.

I hope this helps
Malla Reddy(@UK365GUY)
#365BlogPostsin365Days

Share this:

{Do you know} Remove bulk system administrator from Power Platform using Powershell Script.

Hello Everyone,

Today i am going to show how to remove bulk system administrators or any specific role using PowerShell Script.

Let’s get’s started.

New Microsoft Release feature details: Enables you to have better control over security in Dataverse environments. You can easily produce a list of users assigned to the system administrator role and remove assignments as needed.

Suppose your organisation have a lot of system administrators and global admins or power platform admins can run this Powershell scripts to remove bulk system administrators.

How do you do that ?

You will following list to run the script.

1. Install Visual Studio 2017 or higher

2. Install the .NET Framework 4.6.2 Developer Pack

3. Open the solution file (Microsoft.PowerPlatform.Administration.Powershell.sln) in administrator mode and build the solution.

4. Open PowerShell in administrator mode.

5. Set Execution Policy to Unrestricted.

6. Import the Microsoft.PowerPlatform.Administration.PowerShell module, as shown below.

cd Microsoft.PowerPlatform.Administration.Powershell
Import-Module .\Microsoft.PowerPlatform.Administration.UserManagement.psm1

7. Run the command of your choice from the following Powershell commands, click here.

8. Each command will prompt the user to provide credentials when connecting to Dataverse.Enter a user principla name and password.

Powershell commands.

1. Generate reports of role assignments
2. Remove role assignments from given list of users.
3. Add role assignments for a given list of users.

Share this:

{Do you know} Modern security role editor through Power Platform Admin Center

Hello Everyone

Today i am going to show how to edit the security role from Power Platform Admin Center.

Let’s get’s started.

Normally if we have a requirement to edit the security role to add additional privileges then we login into Classic view of Dynamics 365 and Settings > Security > Open the security role and edit.

Now with the new feature update from Microsoft to edit the security roles from the Power Platform Admin Center.

Login into www.admin.powerplatform.microsoft.com

Then choose the environment and Settings > Security roles

As you can see the modern security role editor in Power Platform Admin Center with Compact Grid View.

1. You can rename the security role.

2. Copy the existing security role.

3. Delete your unmanaged security role.

4. Configure column view such as Record ownership, Permission Settings, Create, Read, Write, Delete, Append, Append to, Assign, Share – permissions.

5.Membership Privilege inheritance: Team privileges only, Direct User(Basic) access level and team privileges.

6.Tables, Micellaneous privileges, Privacy-related privileges – you can set by selecting each of those options.

That’t it for today.

I hope this helps
Malla Reddy(@UK365GUY)
#365BlogPostsin365Days

Share this:

{How to} License autoclaim for Power Apps Licenses

Hello Everyone,

Today i am going to show how to claim power apps licenses autoclaim.

Let’s get’s started.

License autoclaim for Power Apps will simplify license assignments for admin. This feature enables their Power Apps users to automatically claim Power Apps per user licenses when they’re needed instead of requiring the admin to identify users who needs licenses in advance.

So Admins will be able to setup an autoclaim policy for Power Apps per user licenses in the Microsoft 365 admin center just like they can for other Microsoft Licenses. After they do so, any user in their tenant that needs a standalone Power Apps license will be automatically assigned a Power Apps per user license when they need it.

For example: If a user without a standalone Power Apps license opens an app that requires a premium license, the user will automatically be assigned a Power Apps per user license.

A report of all users who have been assigned licenses under the autoclaim policy will be available in the Microsoft 365 Admin Center. Admins can choose to enable or disable the autoclaim policy at any time.

How do you do that?

You should be an Global Admin for Microsoft 365 Tenant to create and manage auto-claim policies,

You can turn on or off by going into Admin center > Billing > Licenses page then select the Auto-claim Policy tab.

In the center of the page, select the Turn on Settings button.

Similarly how to turn off auto-claim ploicy?

Only global admin can turn off an auto-claim policy setting.

1. In the admin center, go to the settings > Org settings page
2. Near the bottom of the table select the User Owned apps and services.
3. In the right pane, clear the box for the Let users auto-claim licenses the first time they sign in.

For more information about how to create an auto-claim policy click here

That’s it for today
I hope this helps
Malla Reddy(@UK365GUY)
#365BlogPostsin365Days

Share this: