Hello Everyone,
Today I am going to share my thoughts on Improving engagement and compliance with double opt-in.

Let’s get’s started.
Double opt-in is a powerful strategy for enhancing both engagement and compliance in your email marketing efforts.

Let’s delve into the details:
1. Why Double Opt-in Matters:
Higher Engagement: When subscribers actively confirm their subscription, it indicates genuine interest. This leads to better engagement rates.
Improved Deliverability: Double opt-in ensures that your emails reach recipients who genuinely want to receive them, reducing the chances of being marked as spam.
Compliance: While not always legally required, double opt-in aligns with best practices and helpss you stay compliant with regulations like GDPR.
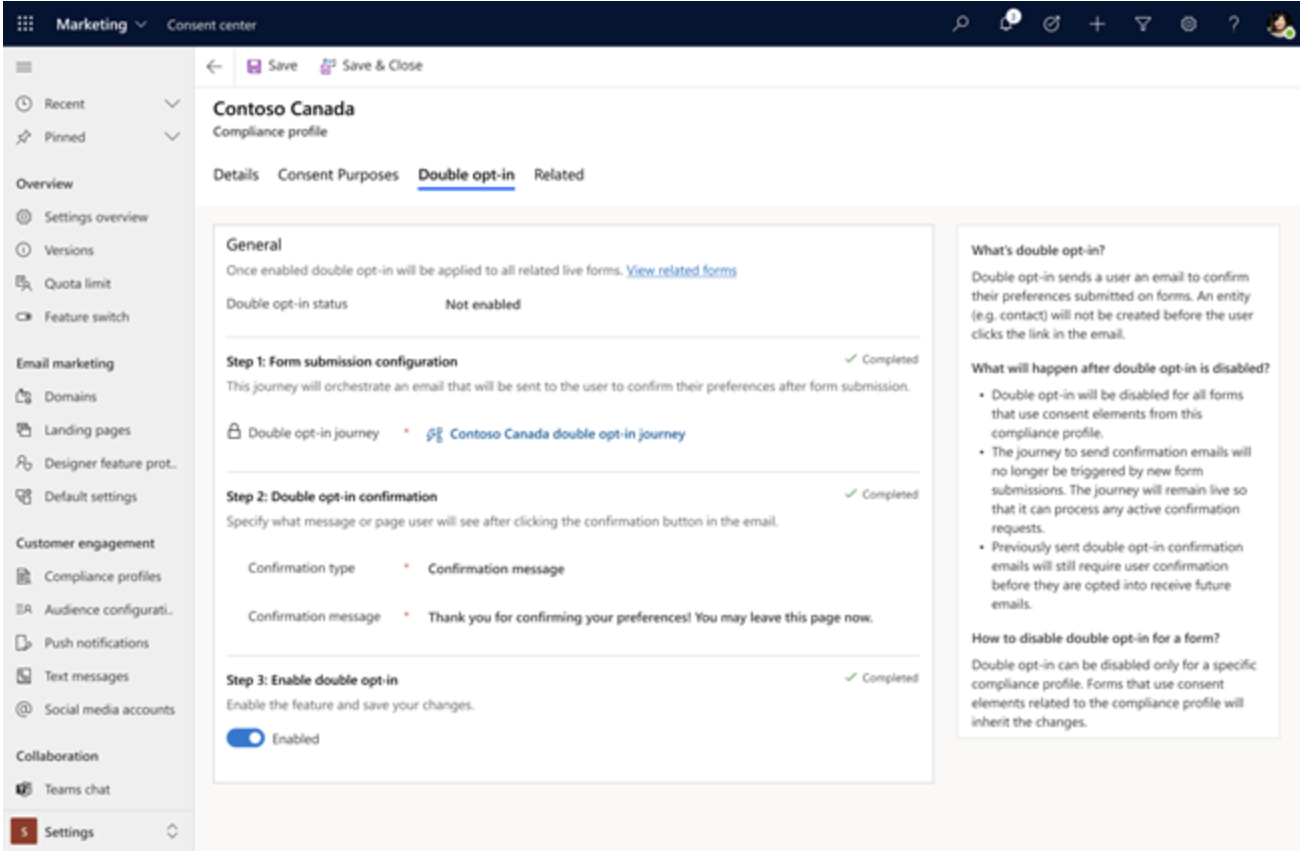
2. Setting Up Double Opt-In:
Existing Customer Base: If you have an existing customer base, assume they’ve already opted-in. Update their unsubscribed attribute to “false” and implement a Sunset Policy to remove non-engaged profiles regularly.
New Subscribers:
Sign-up Form: Include a sign-up form on relevant pages (homepage, sales, pages, checkout, etc). Collect not only email addresses but also other demographic data for personalization.
Sign-up Confirmation Page: Clearly communicate that further action is needed after form submission.
Double Opt-in Campaign and Email:
Trigger a campaign in your system (e.g., Customer.io) based on form completion.
Send a confirmation email immediately, emphasizing the need to click the confirmation button.
Upon confirmation, update the unsubscribed attribute to “false”.
Optinally, track confirmation status with a custom attribute.
If no confirmtion within two days, send a reminder. After two attempts consider removing non-confirmed profiles.
3. Best Practises:
Transparency: Tell subscribers what to expect.
Subject Line Clarity: Clearly state your purpose.
Incentives: Encourage confirmation.
Customization: Allow subscribers to customize preferences.
Easy Opt-Out: Always provide easy opt-out options.
Remember, double opt-in may require an extra step, but the benefits – engaged subscribers and compliance -are well worth it!.
That’s it for today.
I hope this helps.
Malla Reddy Gurram(@UK365GUY)
#365BlogPostsin365Days