Hello Everyone,
Today i am going to show how to set up Microsoft Teams call directly from Dynamics 365 Sales.

Let’s get’s started.
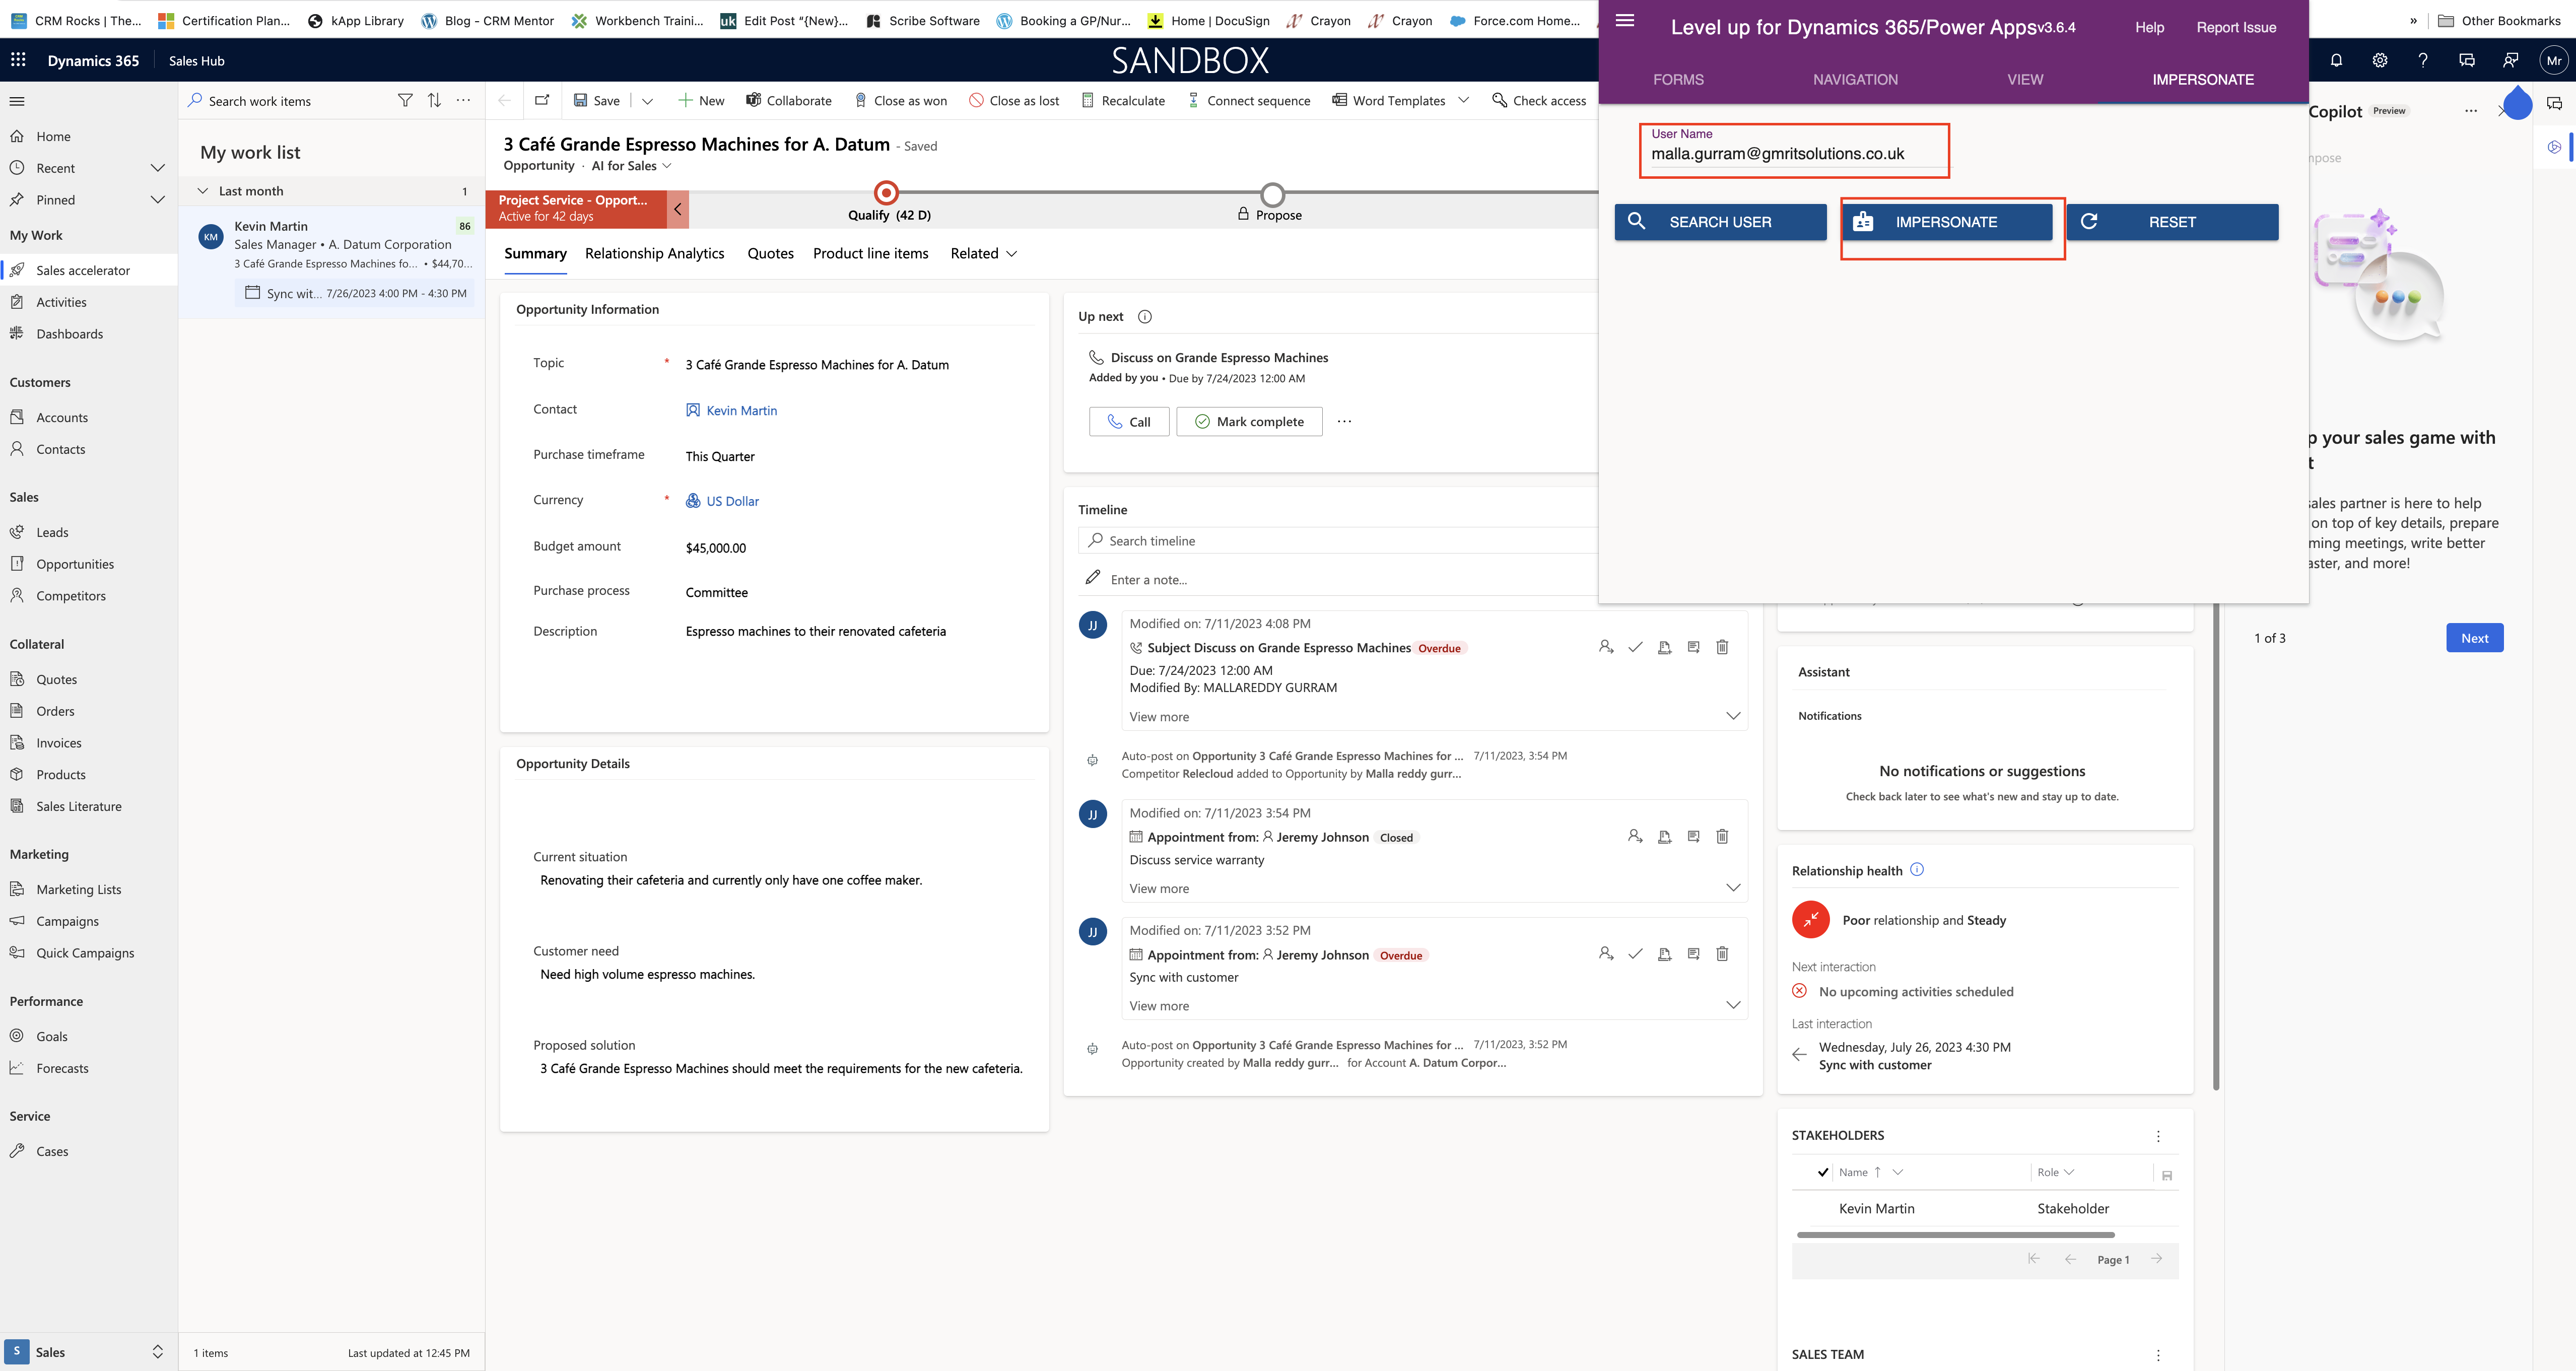
Login into Dynamics 365 Sales.
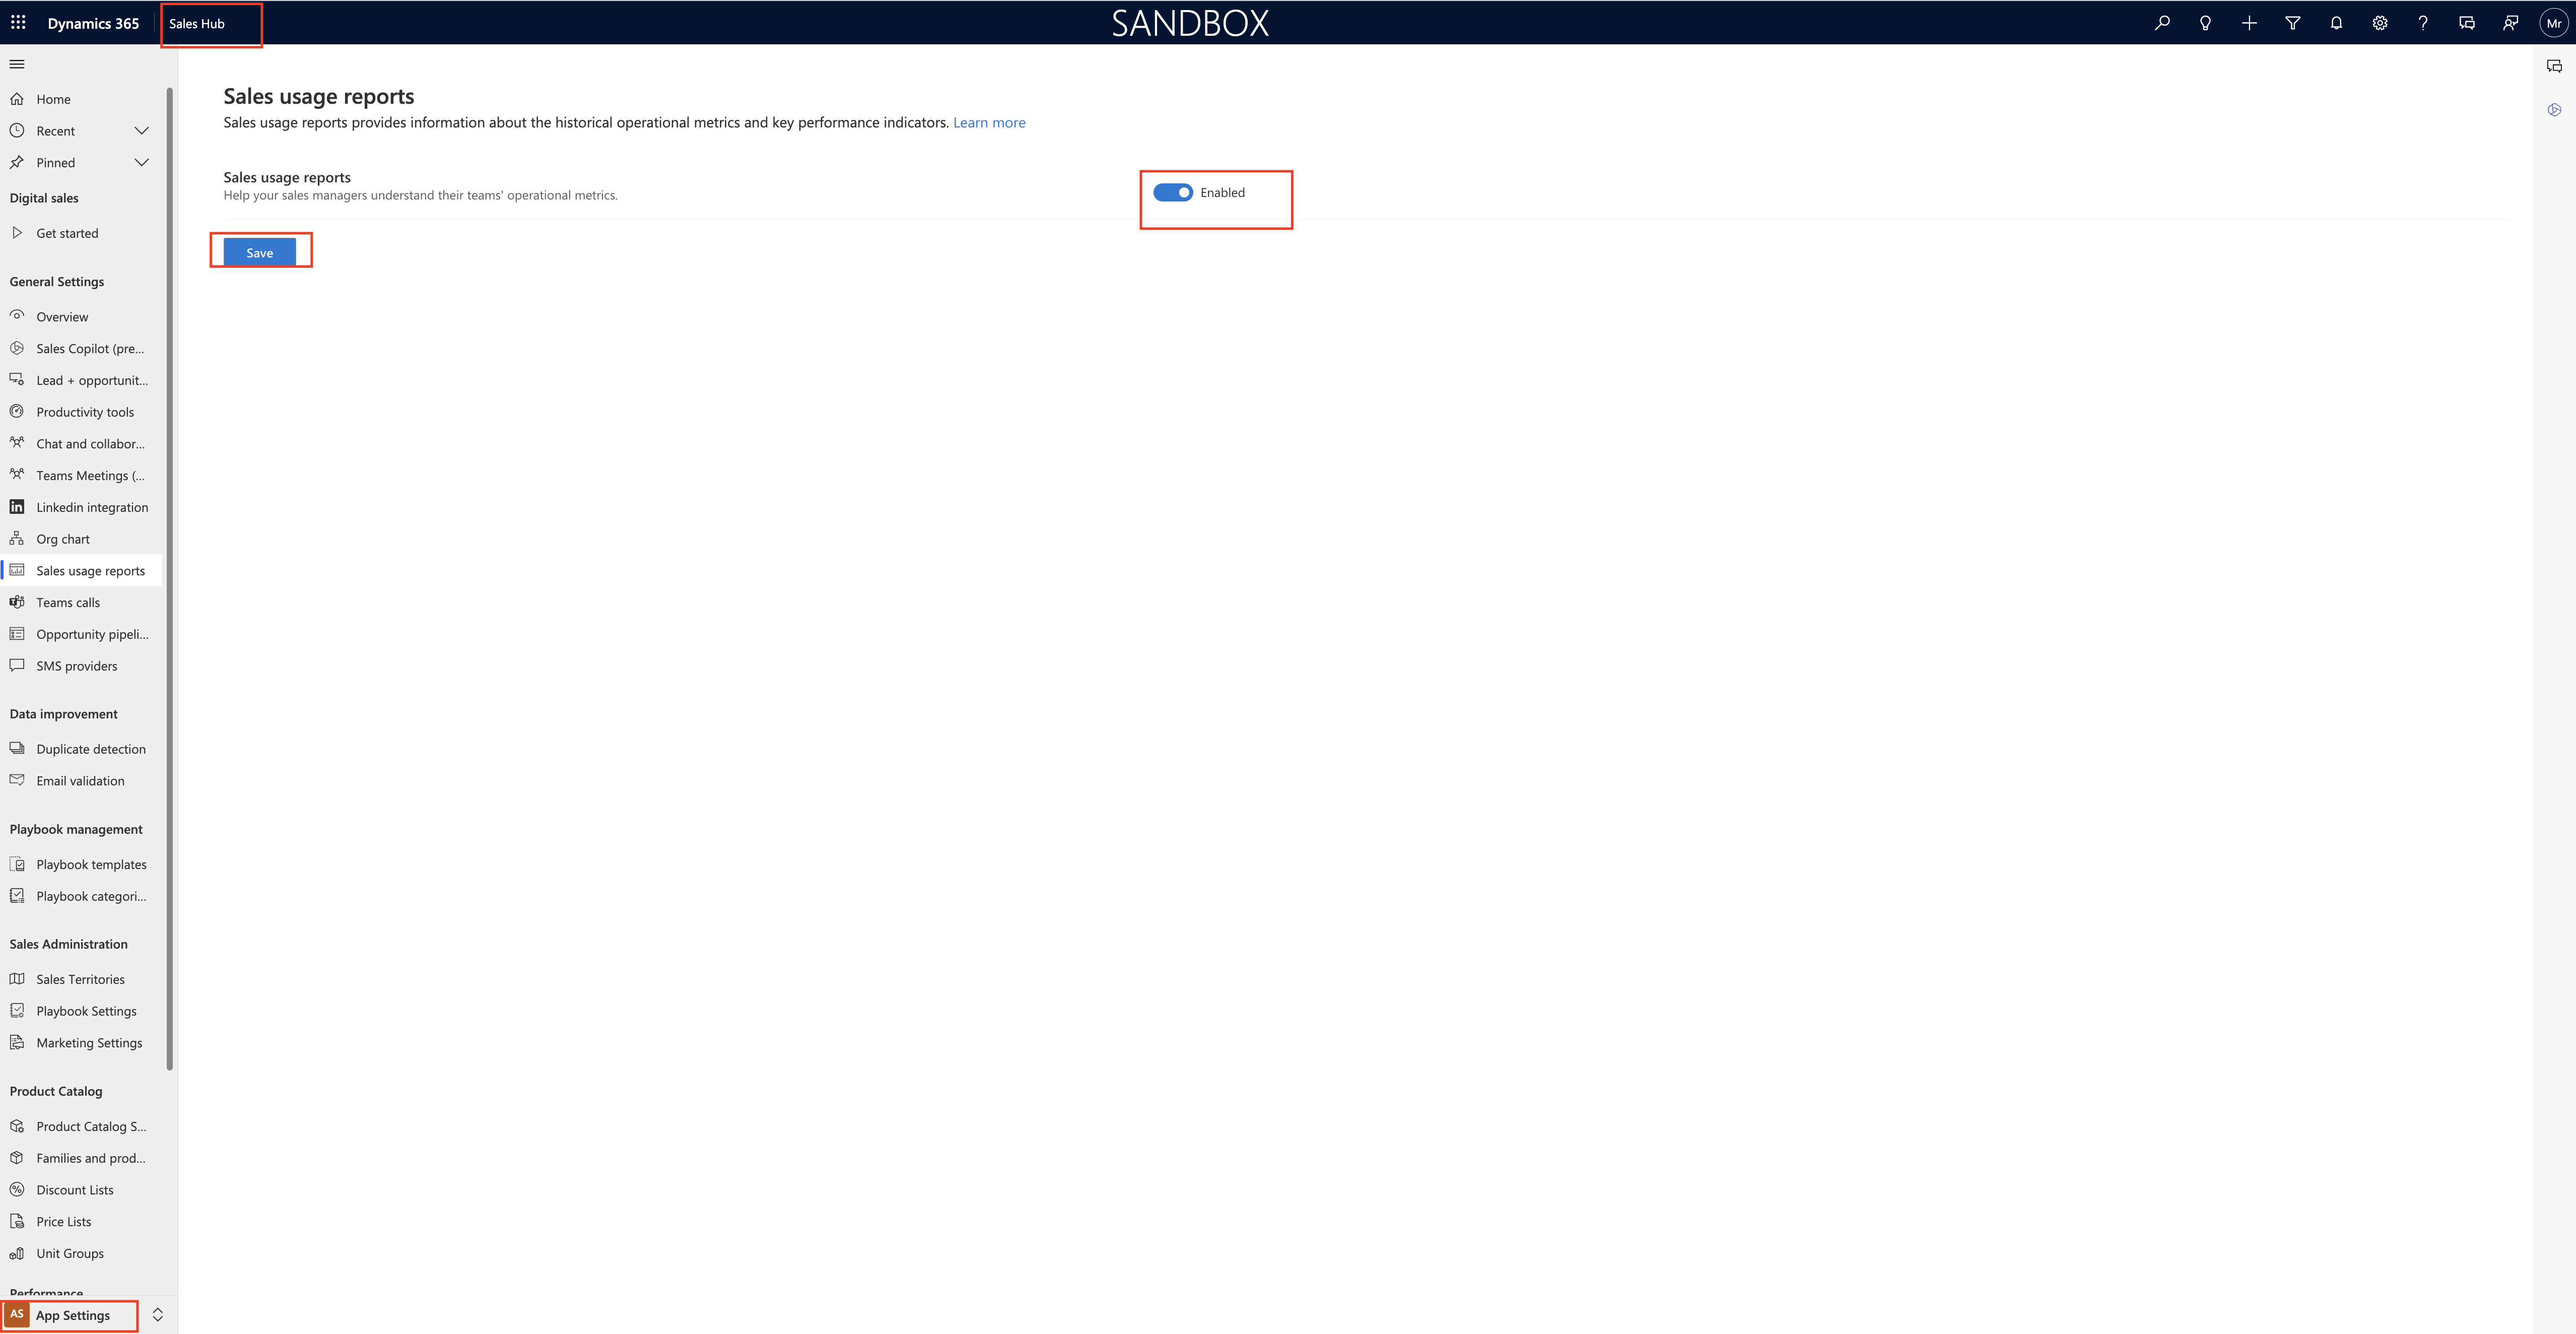
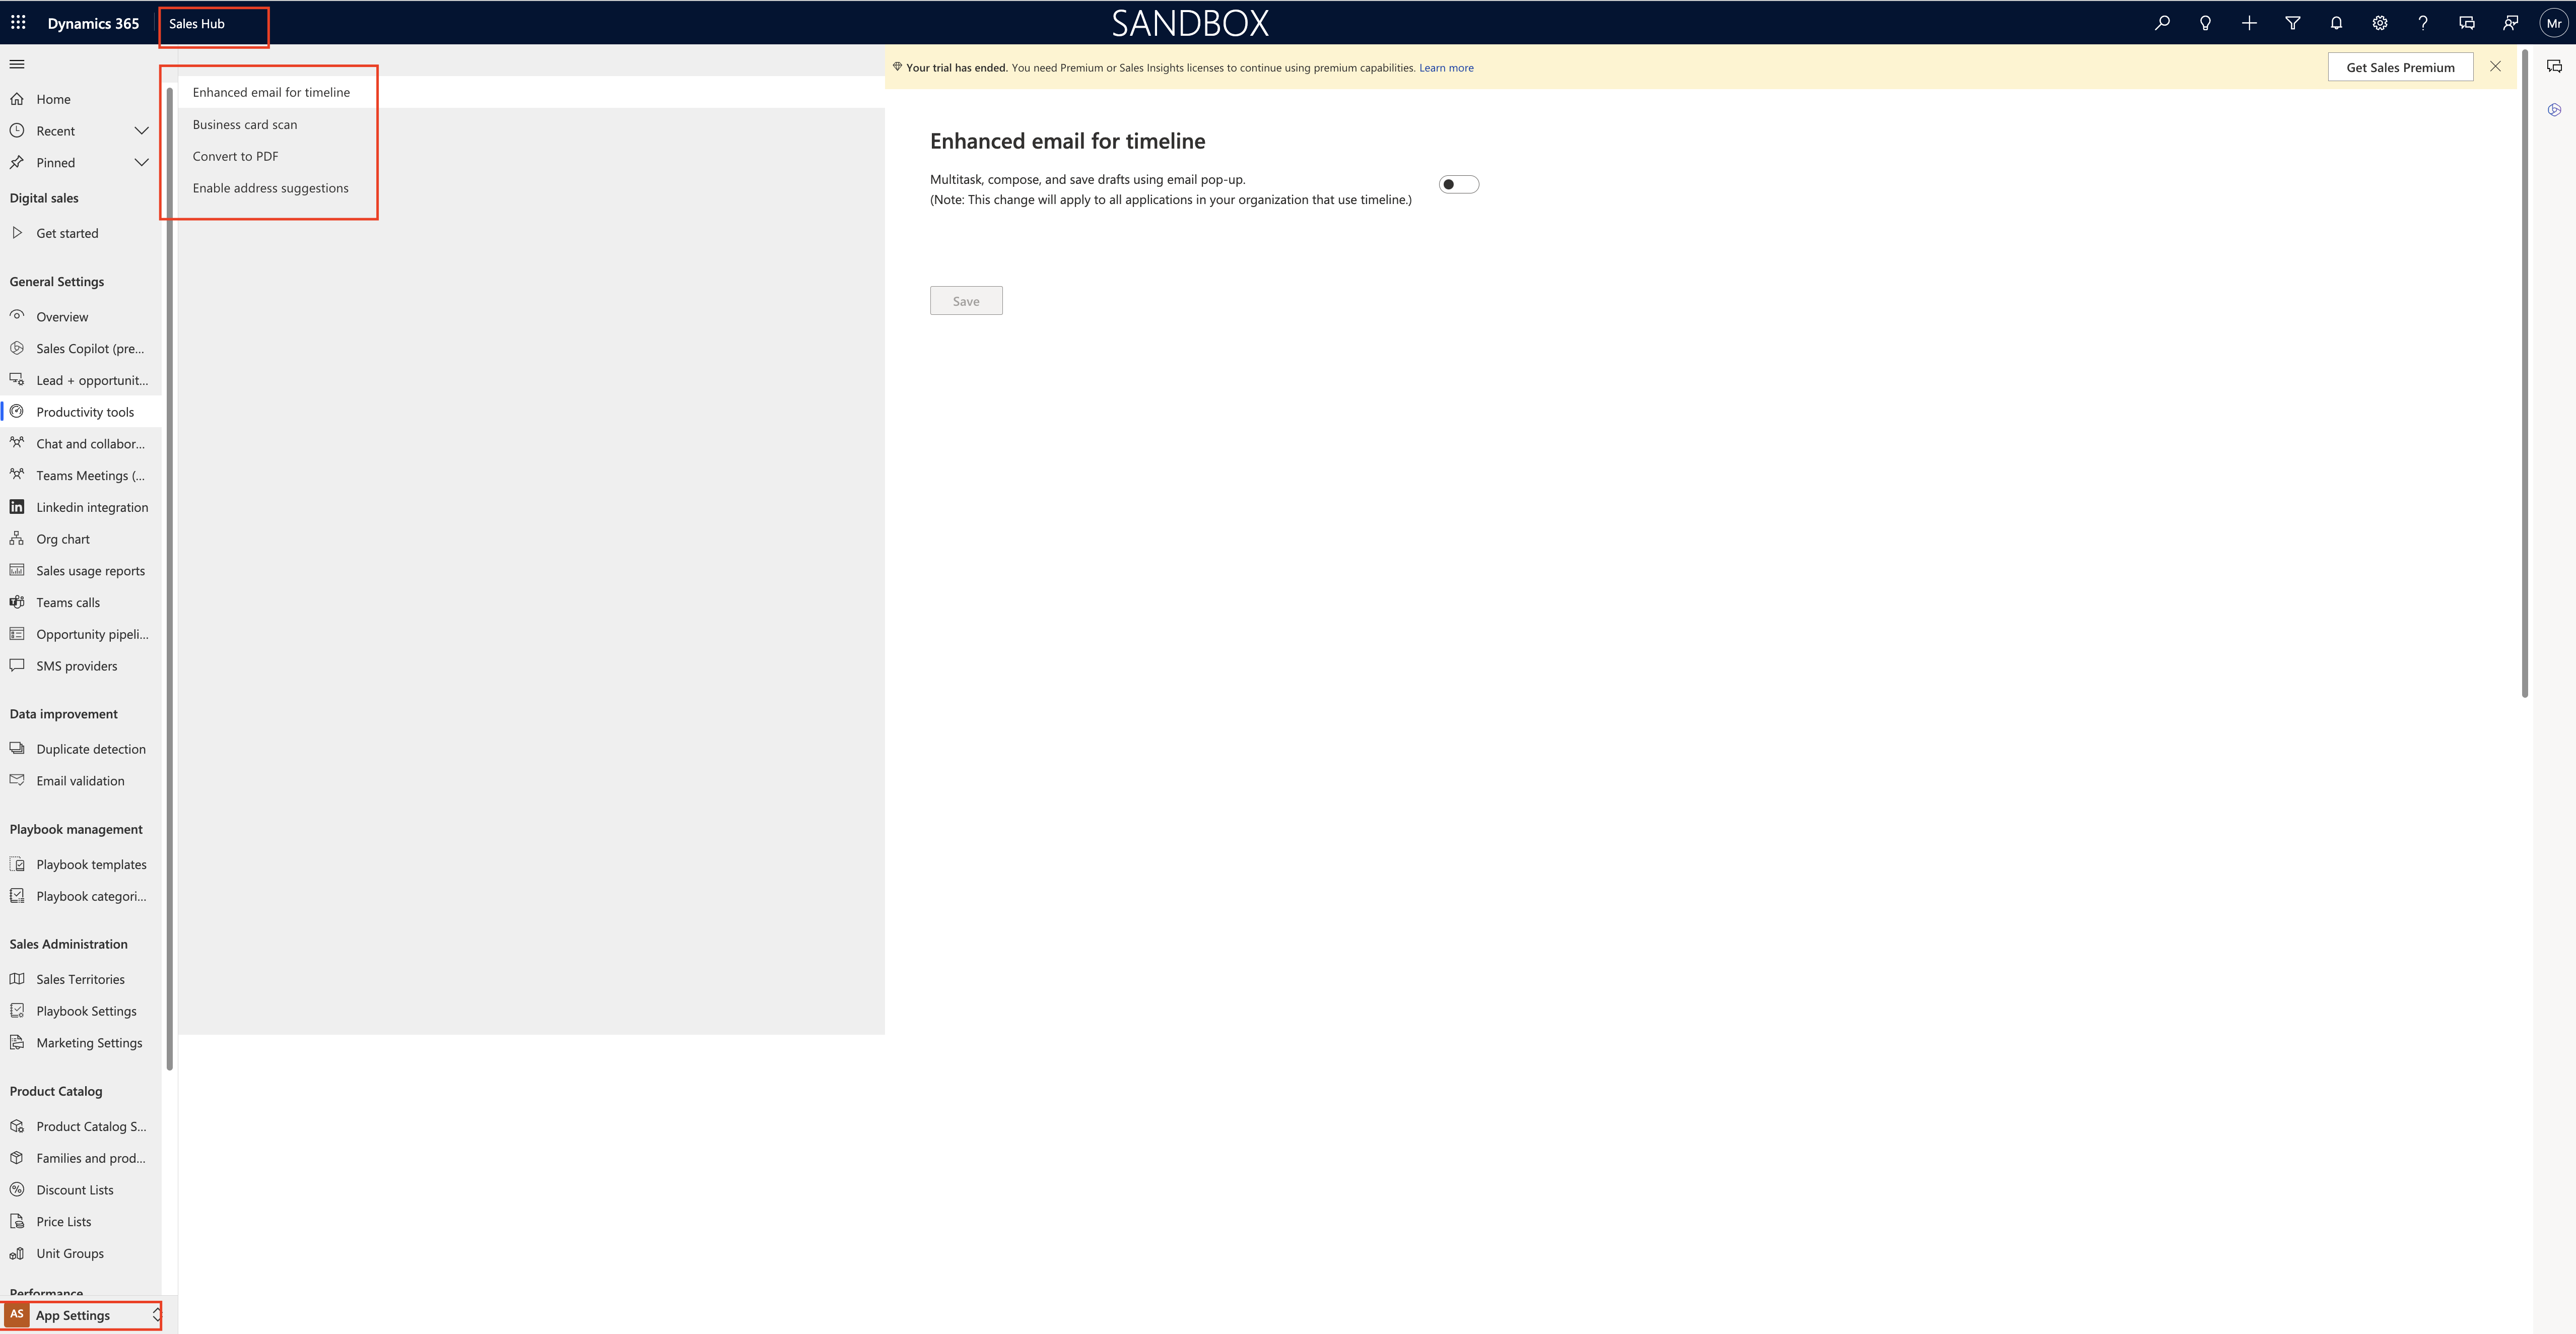
Change the Settings from bottom left corner side from Sales to APP Settings.
Click on Teams Calls and Microsoft Team calls settings will be opened.
You can set up Microsoft Teams so your sales team can call customers directly from Dynamics 365, with seamless integartion and premium options available.
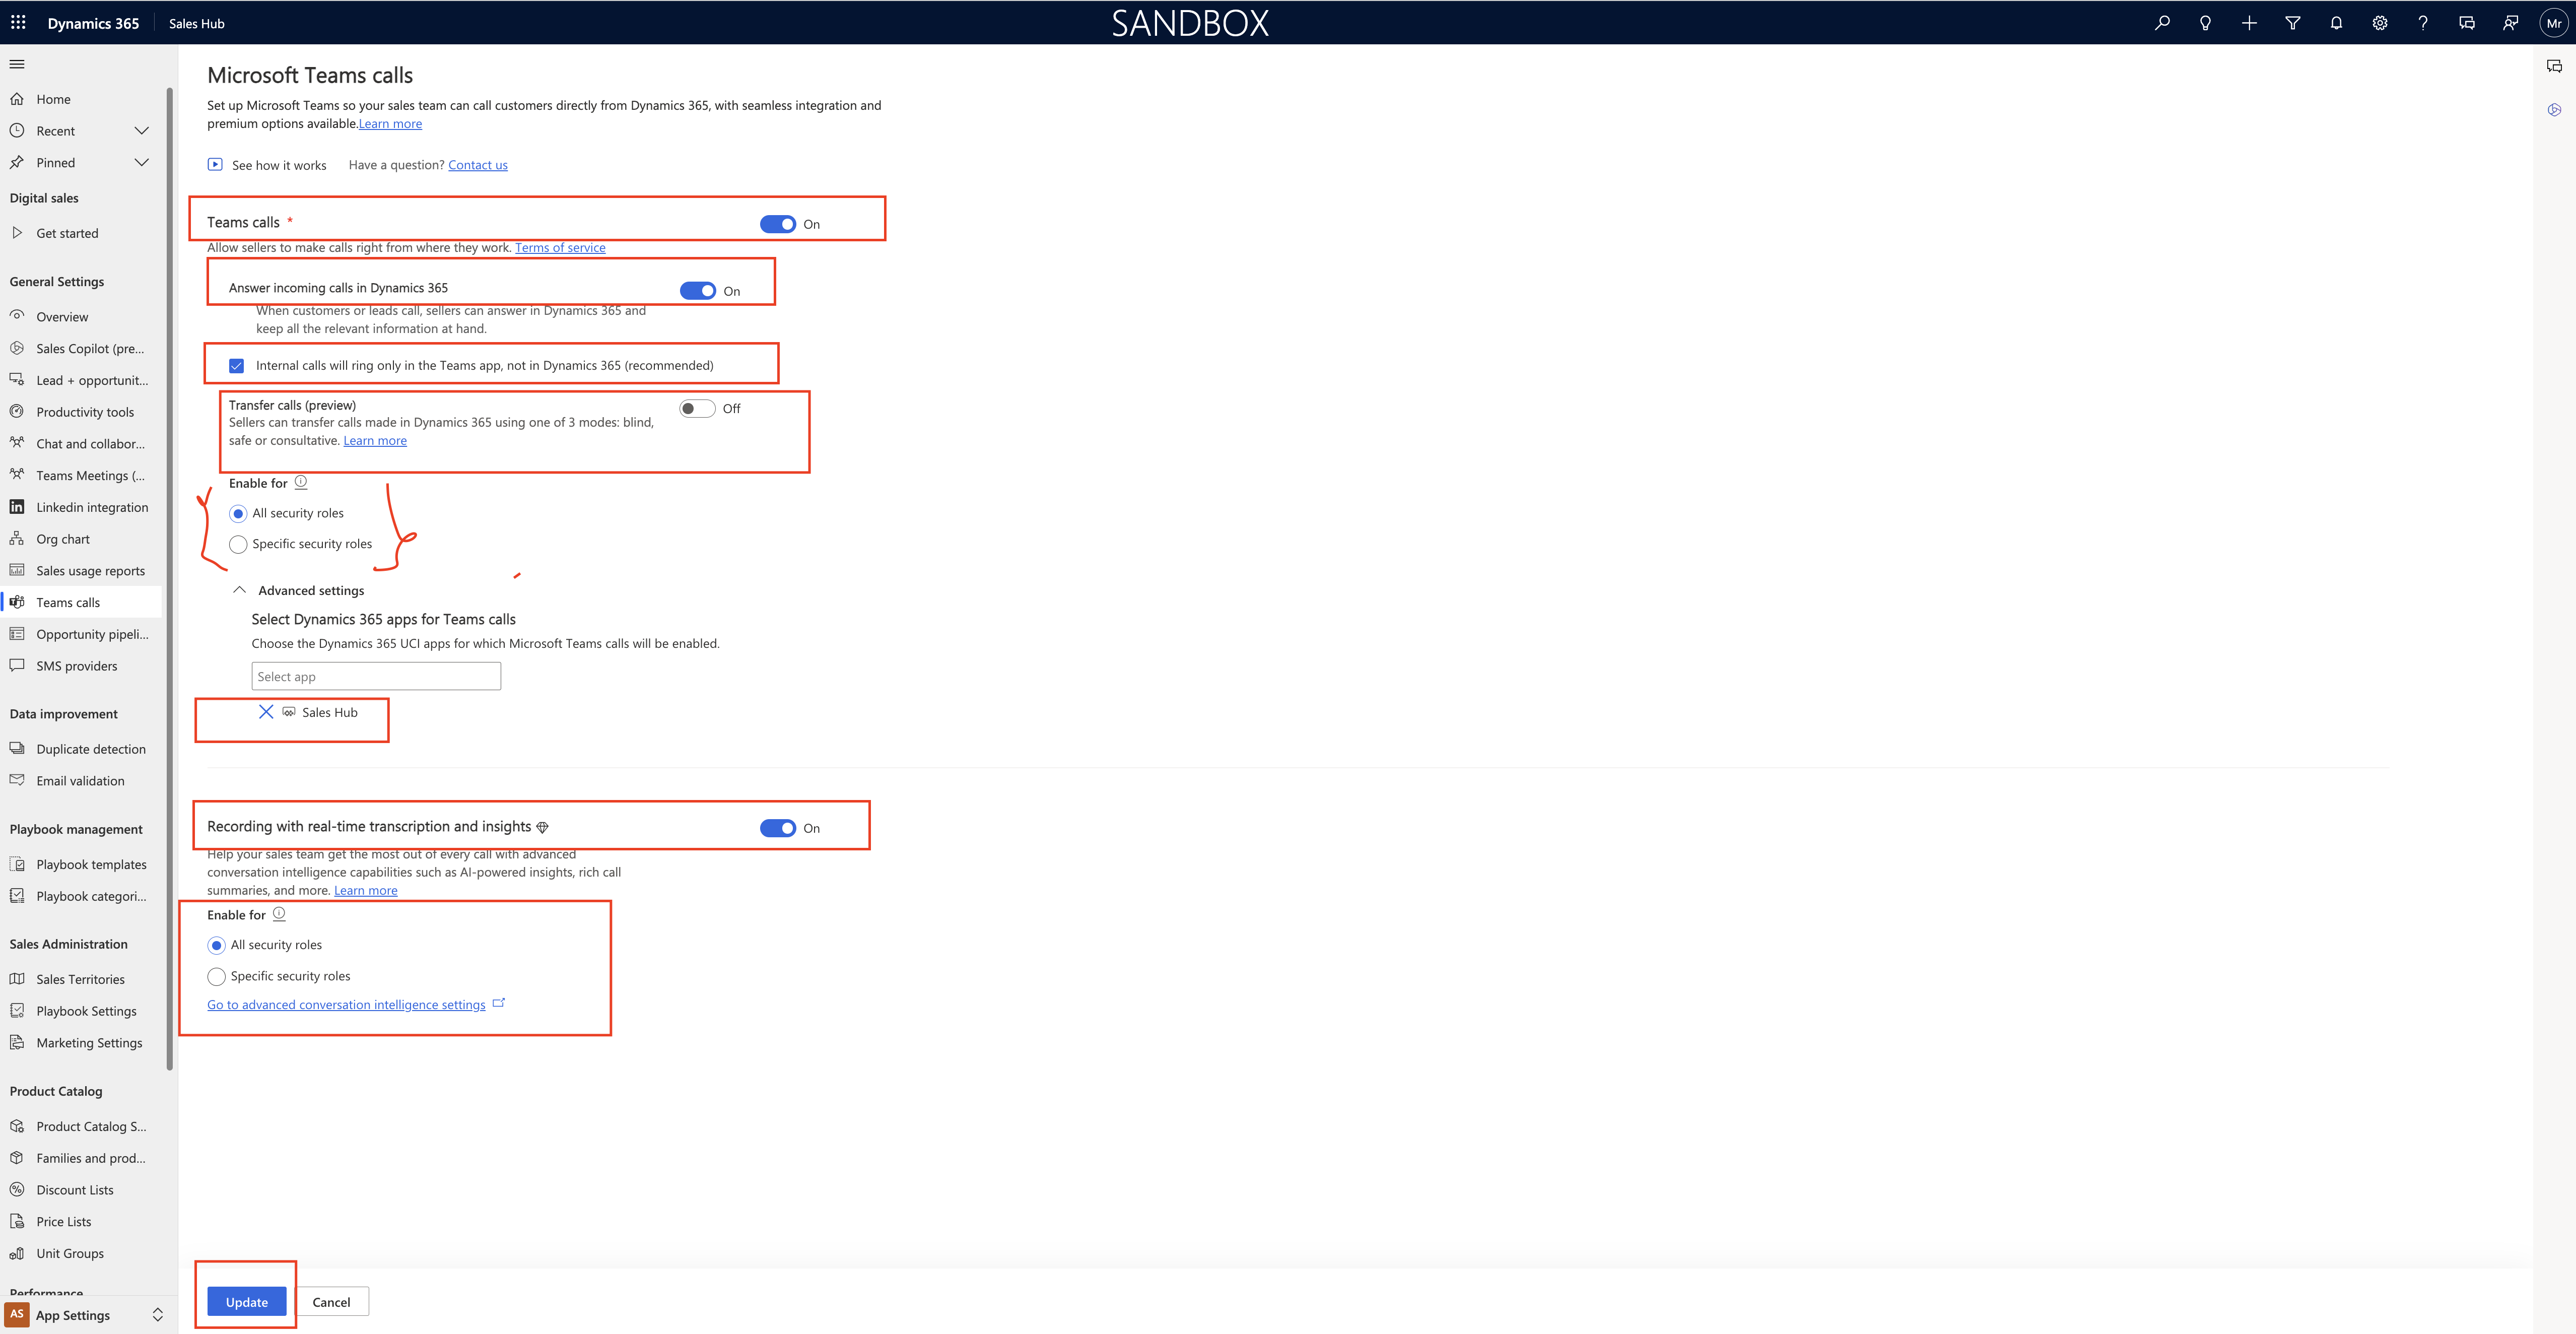
1. Teams calls:
Allow sellers to make calls right from where they work = ON.
2.Answer incoming calls in Dynamics 365 : ON
When customers or leads call, sellers can aswer in Dynamics 365 and keep all the relevant information at hand.
3. Internal calls will ring only in the Teams app, not in Dynamics 365(recommended)
Transfer calls(preview) = ON
Sellers can transfer calls made in Dynamics 365 using one of 3 modes : blind, sale or consultative.
4. Security roles can be enabled for specific roles.
5.Advanced settings
You can select the Dynamics 365 apps for Teams calls.
for example: Sales Hub.
6. Recording with real-time transcription and insights = ON
Which allows sales team gets most out of every call with advanced conversation intelligence capabilities like AI powered insights rich call summaries and more.
Also enable for security roles.
Finally Click Update button.
Microsoft Teams calls set up successfully.
That’s it for today.
I hope this helps.
Malla Reddy Gurram(@UK365GUY)
#365BlogPostsin365Days)