Menu Close

Tag: #powerapps

{Do you know} Dynamics 365 and Microsoft Power Platform release planner documentation

Hello Everyone,

Today i am going to share Dynamics 365 and Microsoft Power Platform release planner documentation site.

Let’s get’s started.

Microsoft Dynamics 365 and Power Platform Community usually look for release documentation area on search engines.

I am going to share the url here

That’s it for today.

I hope this helps.

Malla Reddy(@UK365GUY)
#365BlogPostsin365Days

Share this:

How to approve email addresses for Users or Queues privilege by normal user other than system administrators in Dynamics 365 Sales

Hello Everyone,

Today i am going to show to approve email addresses by normal user other than system administrator.

Let’s get’s started.

Normally to approve an email addresses in Dynamics 365 user requries the Approve Email Addresses for Users or Queues Privileges.

System Administrators usually have this role assigned default, so if any other user requires to approve email addresses, system admin’s can assign this Approve Email Addresses for Users or Queues Privileges to their security role.

How to assign manually lets see in action:

Login into Power Platform Admin Center and select an environment,

In the legacy web client in the upper right hand corner, click on Advanced Settings.

Settings > Users + Permissions > Security roles.

Security role and then select the Business Management tab.

Under Miscellaneous Privileges, set the previleges level for Approve Email Addresses for Users or Queues.

Then Approve Mailboxes:

How do you do that?

Login into Power Platform Admin Center, select the environment,

Legacy web client click on advanced settings.

Select Settings > Email > Mailboxes.

Select Active Mailboxes.

Select the mailboxes that you want to approve and then select More commands > Approve Email.

Select OK.

That’s it for today.

I hope this helps
Malla Reddy(@UK365GUY)
#365BlogPostsin365Days

Share this:

{How to } enable and open Customer Service admin center on Dynamics 365 Customer Service Hub

Hello Everyone,

Today i am going to share how to enable and open new customer service admin center from Dynamics 365 Customer Service App.

Let’s get’s started.

Normally we used to go to service management section on Dynamics 365 Customer Service from settings and the service management to maintain the SLA’s for customer service for any kind of business. but from April 2023 no longer the admin experience available. so Microsoft recommends that you use the latest Customer Service admin center’s immediately. if you want to continue using Service Management, you must acknowledge that it’s no longer supported.

Once acknowledge is completed you can go for either Open Customer Service admin center or Continue in Service Management

In this case i have chosen the Open Customer Service Admin Center and new window will be displayed see below.

Guided channel setup:

You can configure the define the channel setup for customer service using queues and routing definitions. BEGIN.

Advanced configuration:

1. Set up macros: Which enable agents to perform repetitive tasks efficiently in a fast and process-complaint manner.

2.Set up service- level agreements: Define the level of service or support that your organisation agrees to offer to a customer.

3. Set up email templates: Create consistent, preformatted email messages that agents can use to communicate with customers.

4. Set up article templates: Simplify the process of creating knowledge articles and maintain consistency in branding and structure.

That’s it for today.

I hope this helps
Malla Reddy(@UK365GUY)
#365BlogPostsin365Days

Share this:

How to create and activate a segment in Dynamics 365 Sales

Hello Everyone,

Today i am going to share how to create and activate segment in Dynamics 365 Sales.

Let’s get’s started.

What is segment?

Create a condition to get group of records, by defining different conditions for each segment. Once a segment is activated and a record satifies the conditions that are defined in the segment, the record becomes a member of the segment.

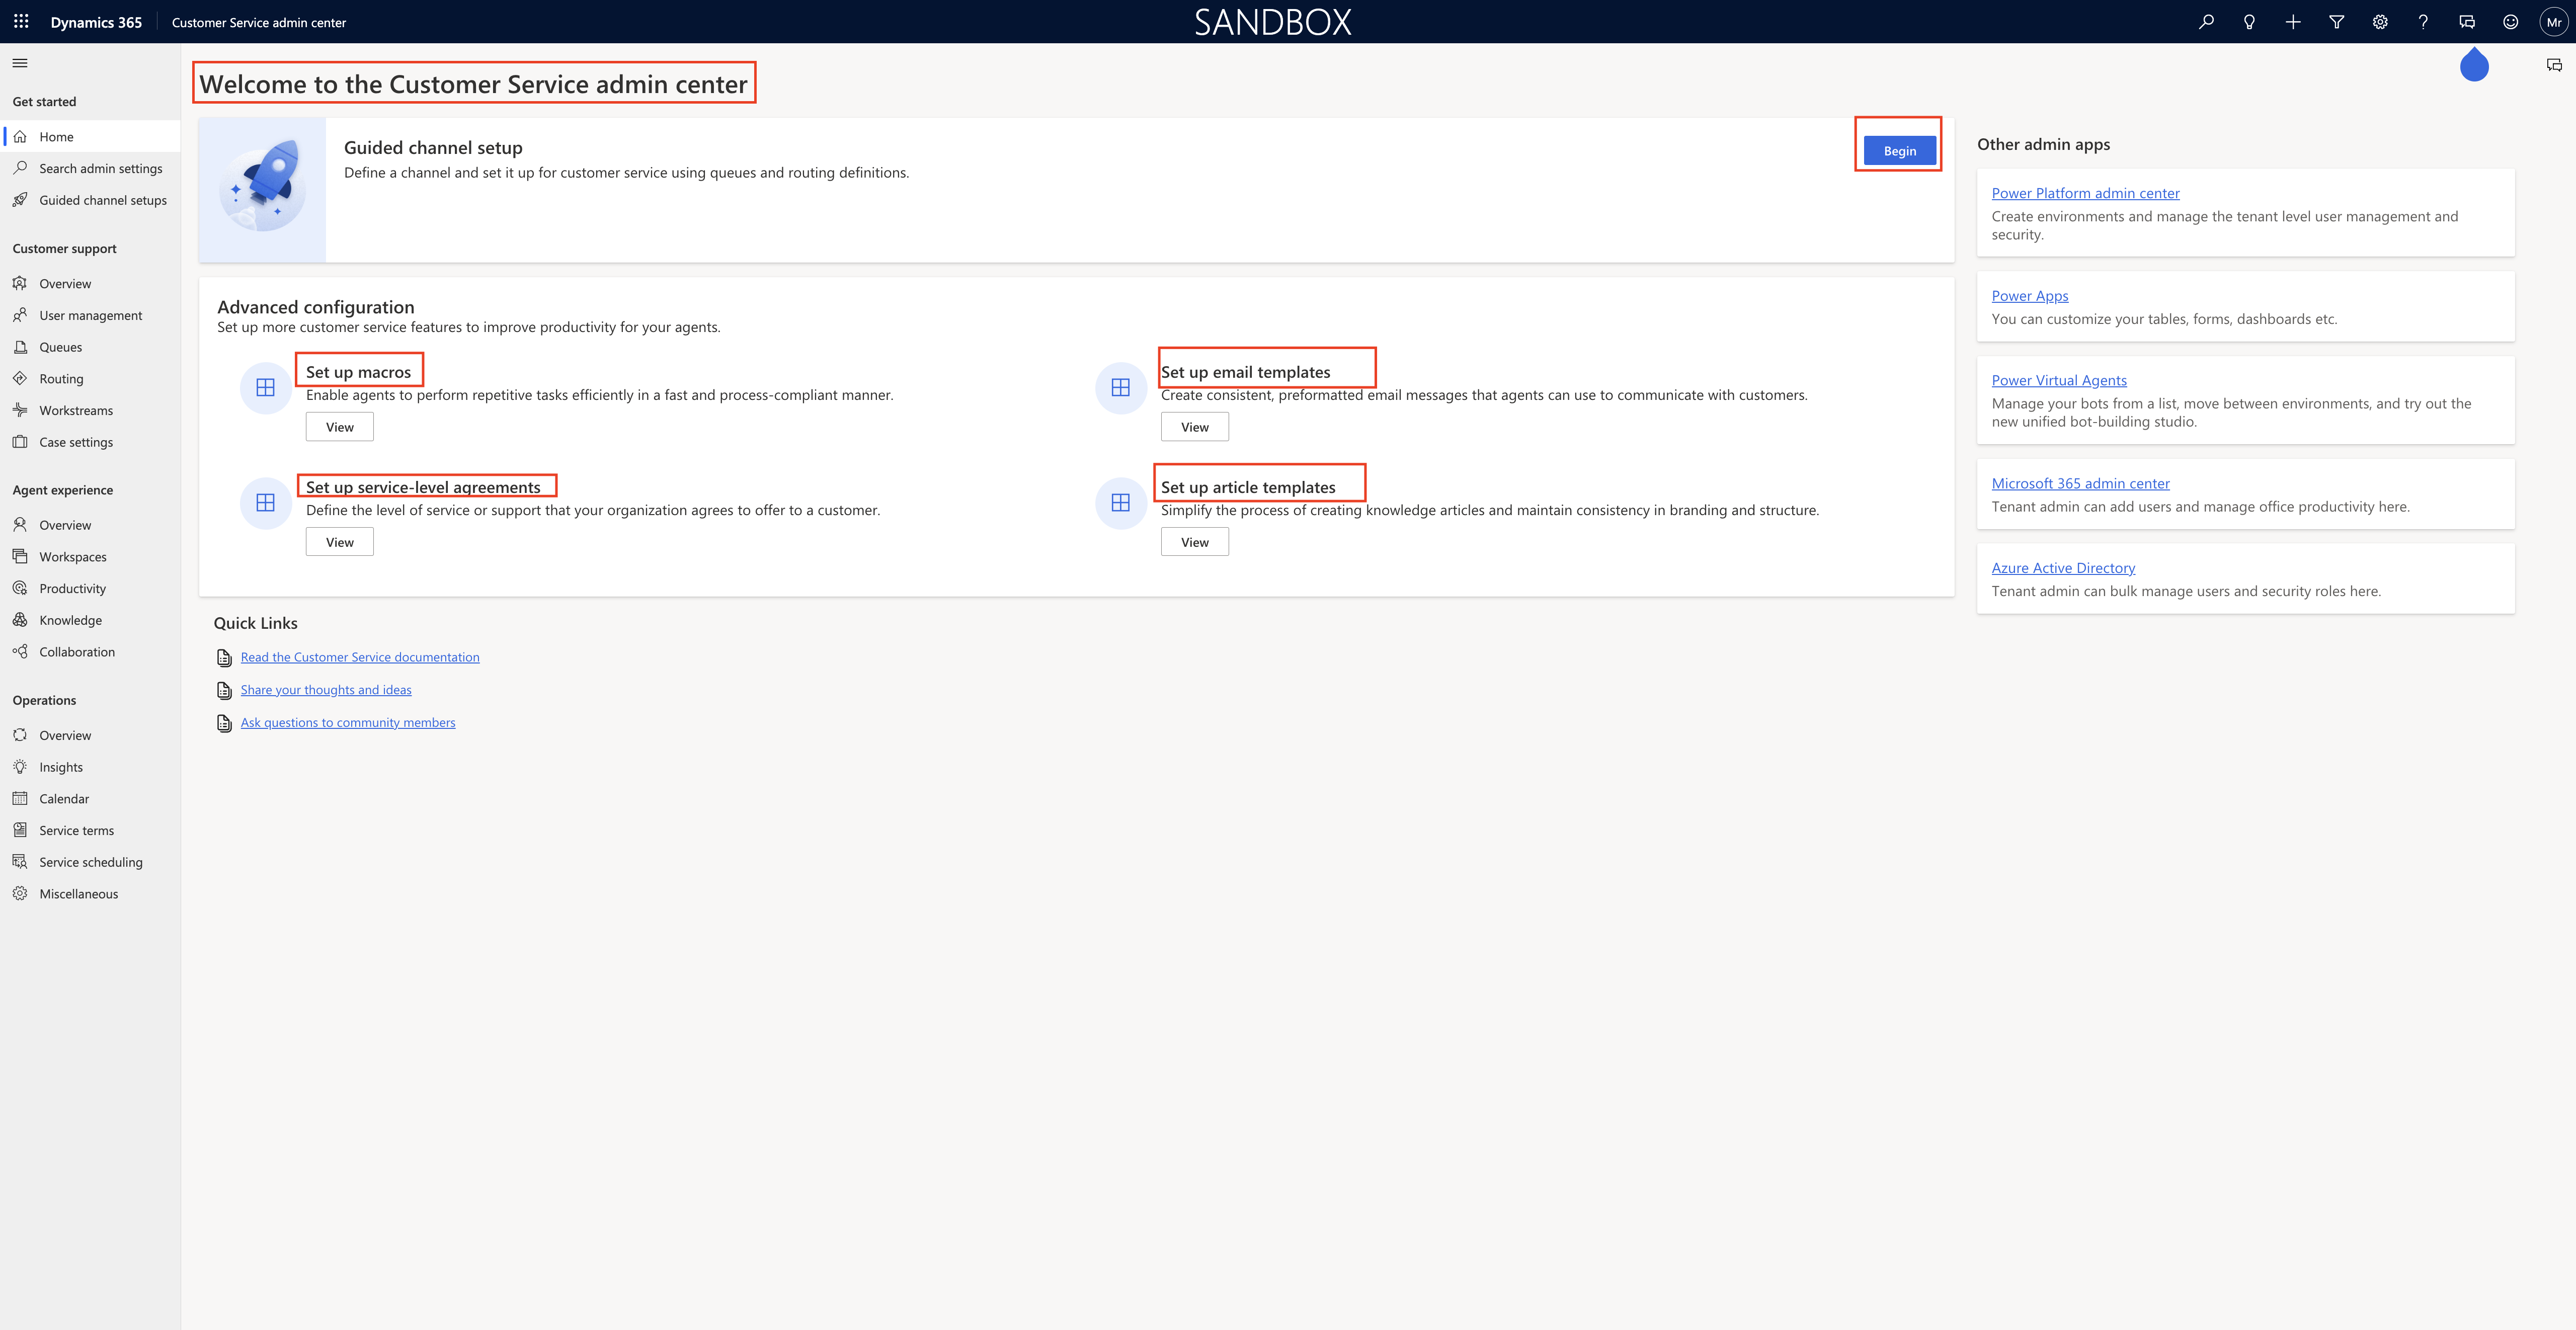
Login into Dynamics 365 Sales – Model Driven App.

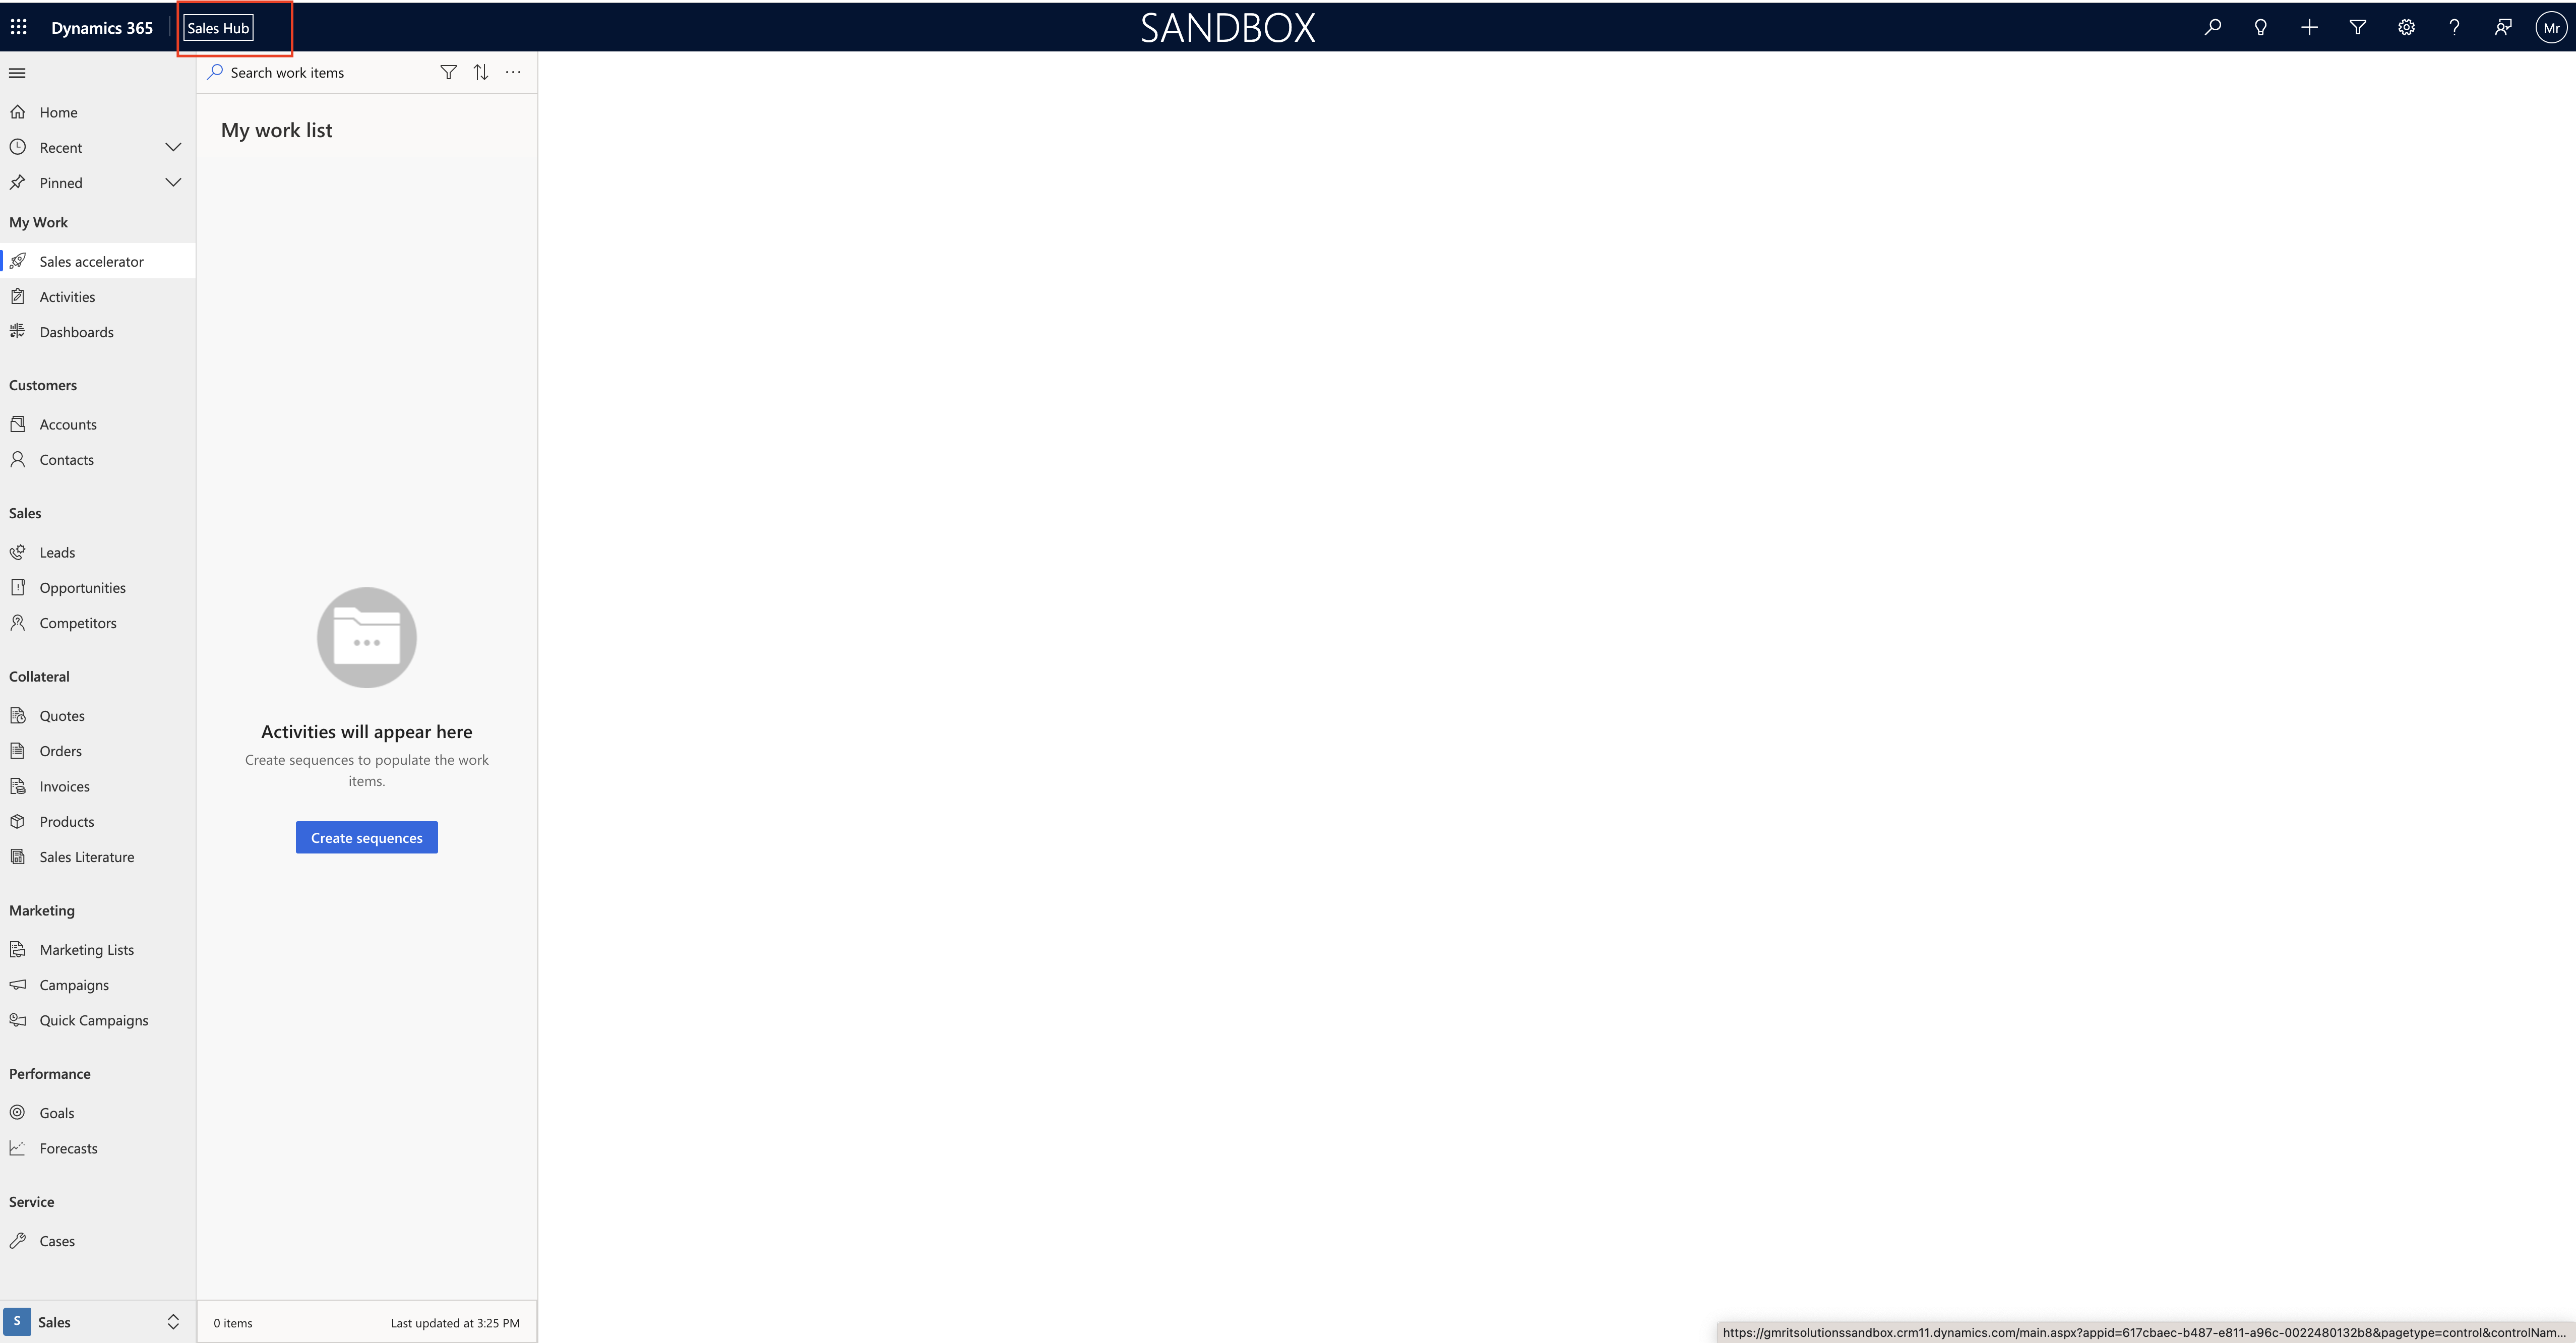
Then change the settings to sales insights settings and click on the Segments underneath Sales Accelerator

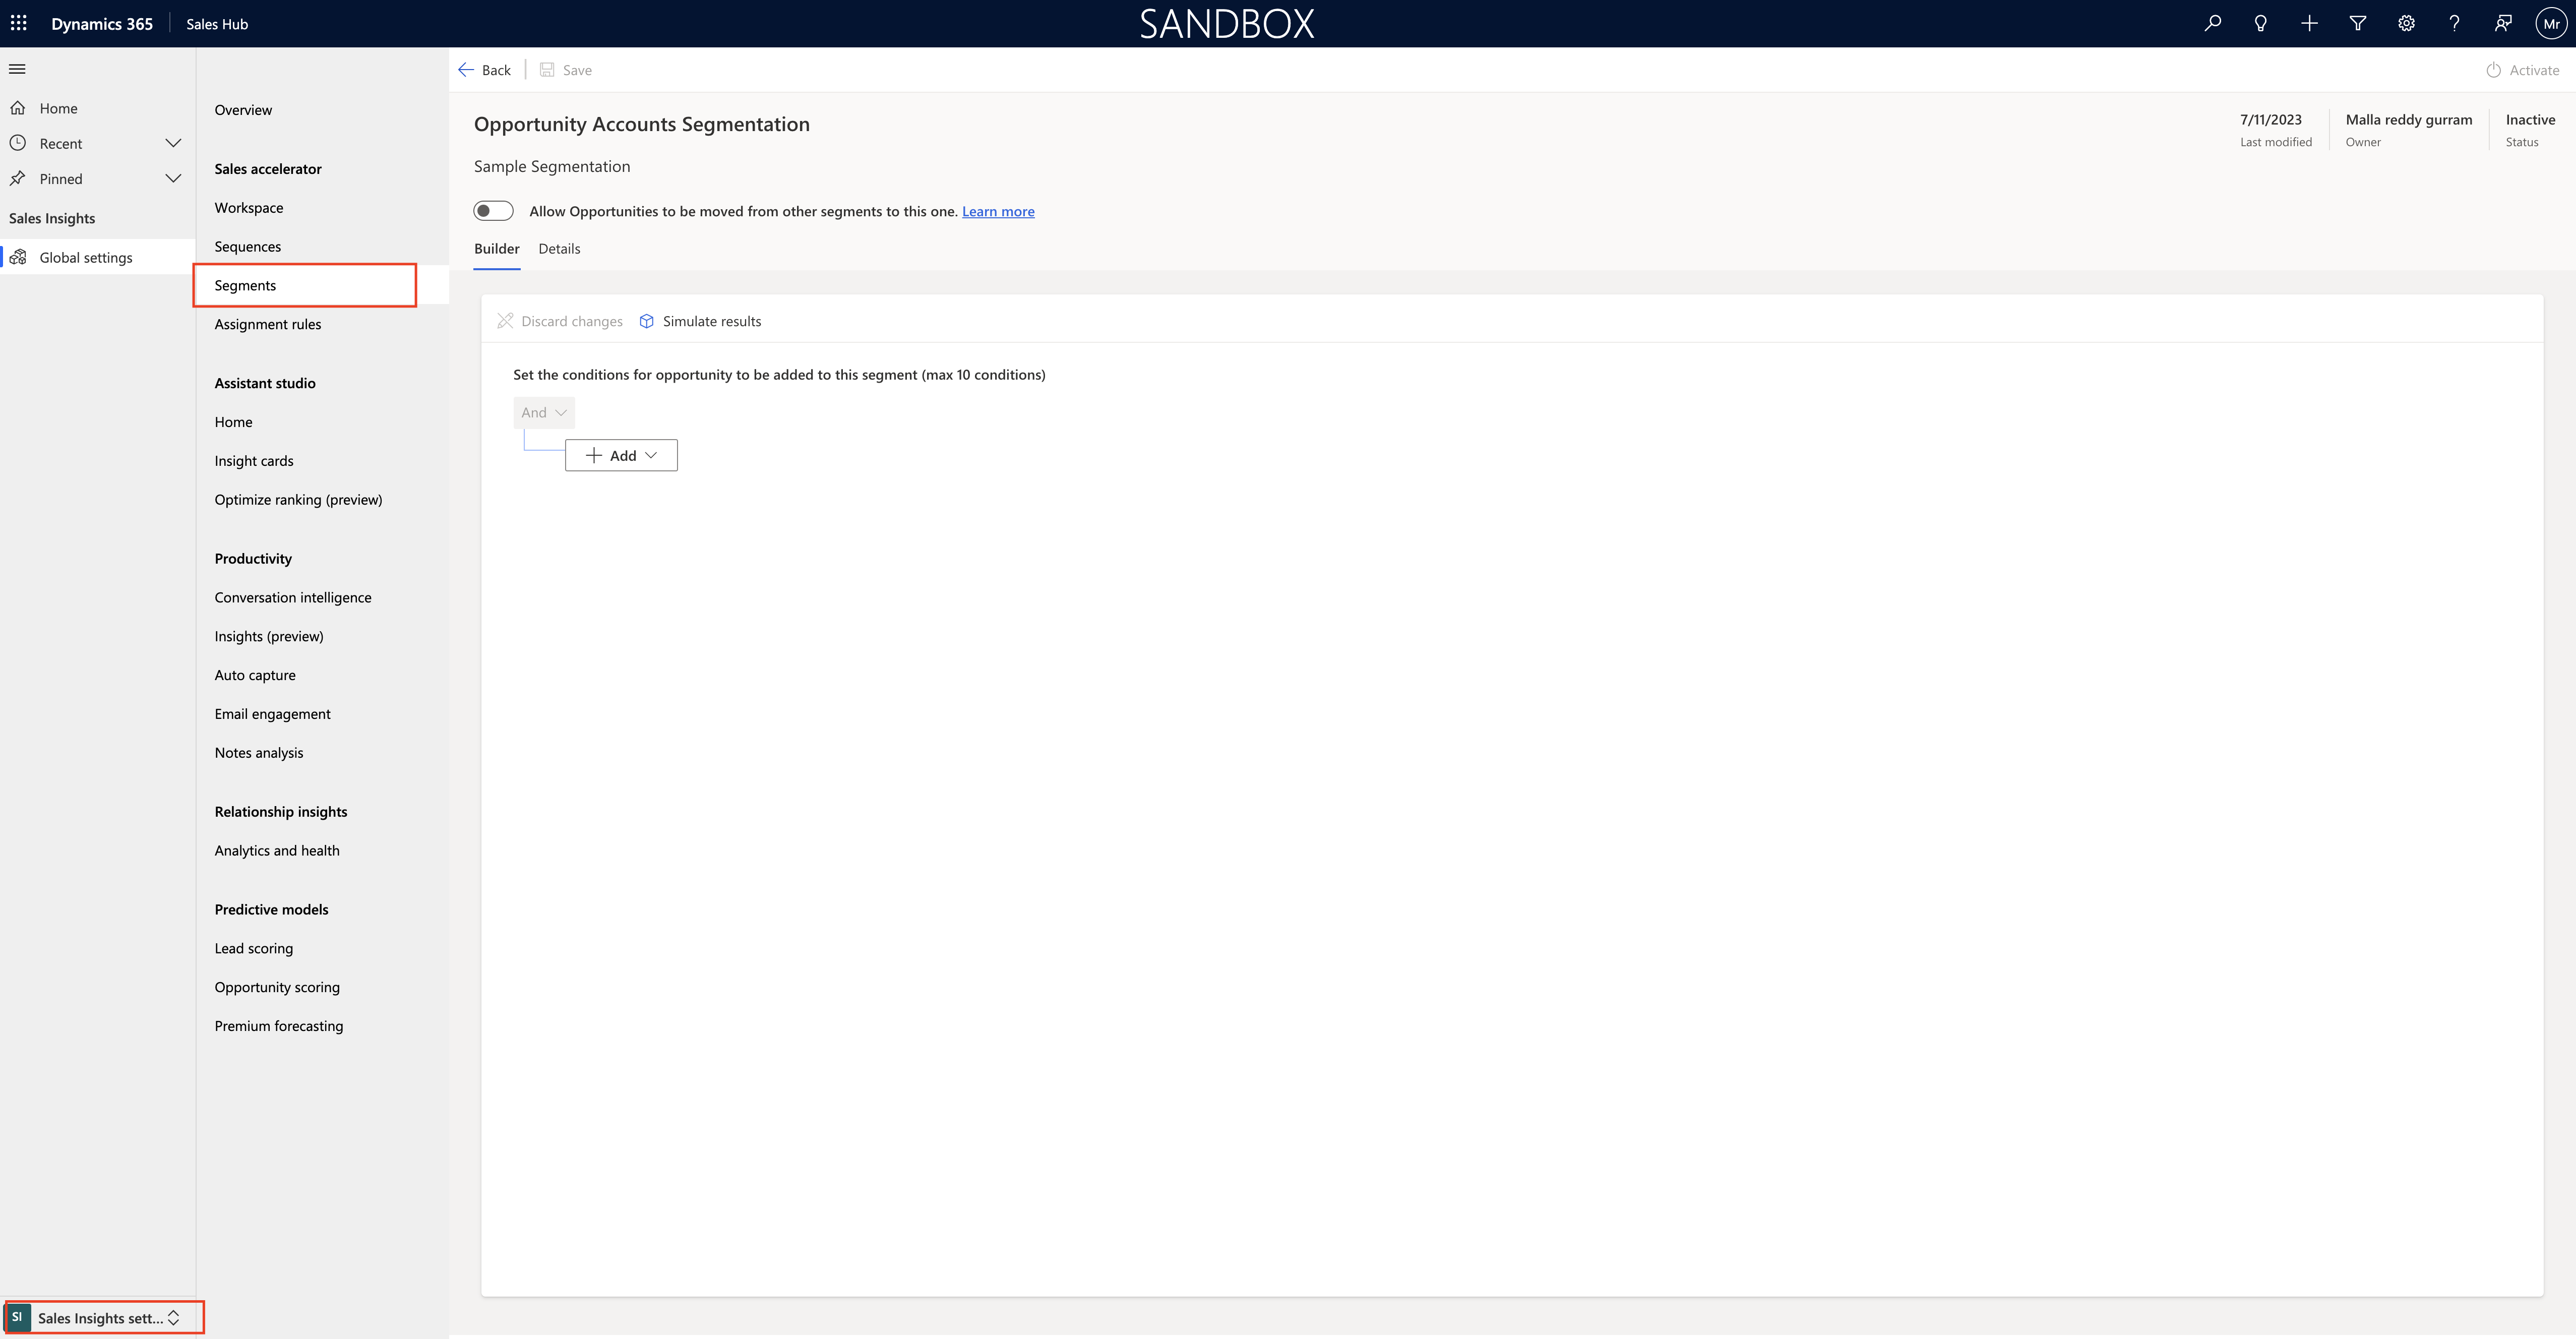
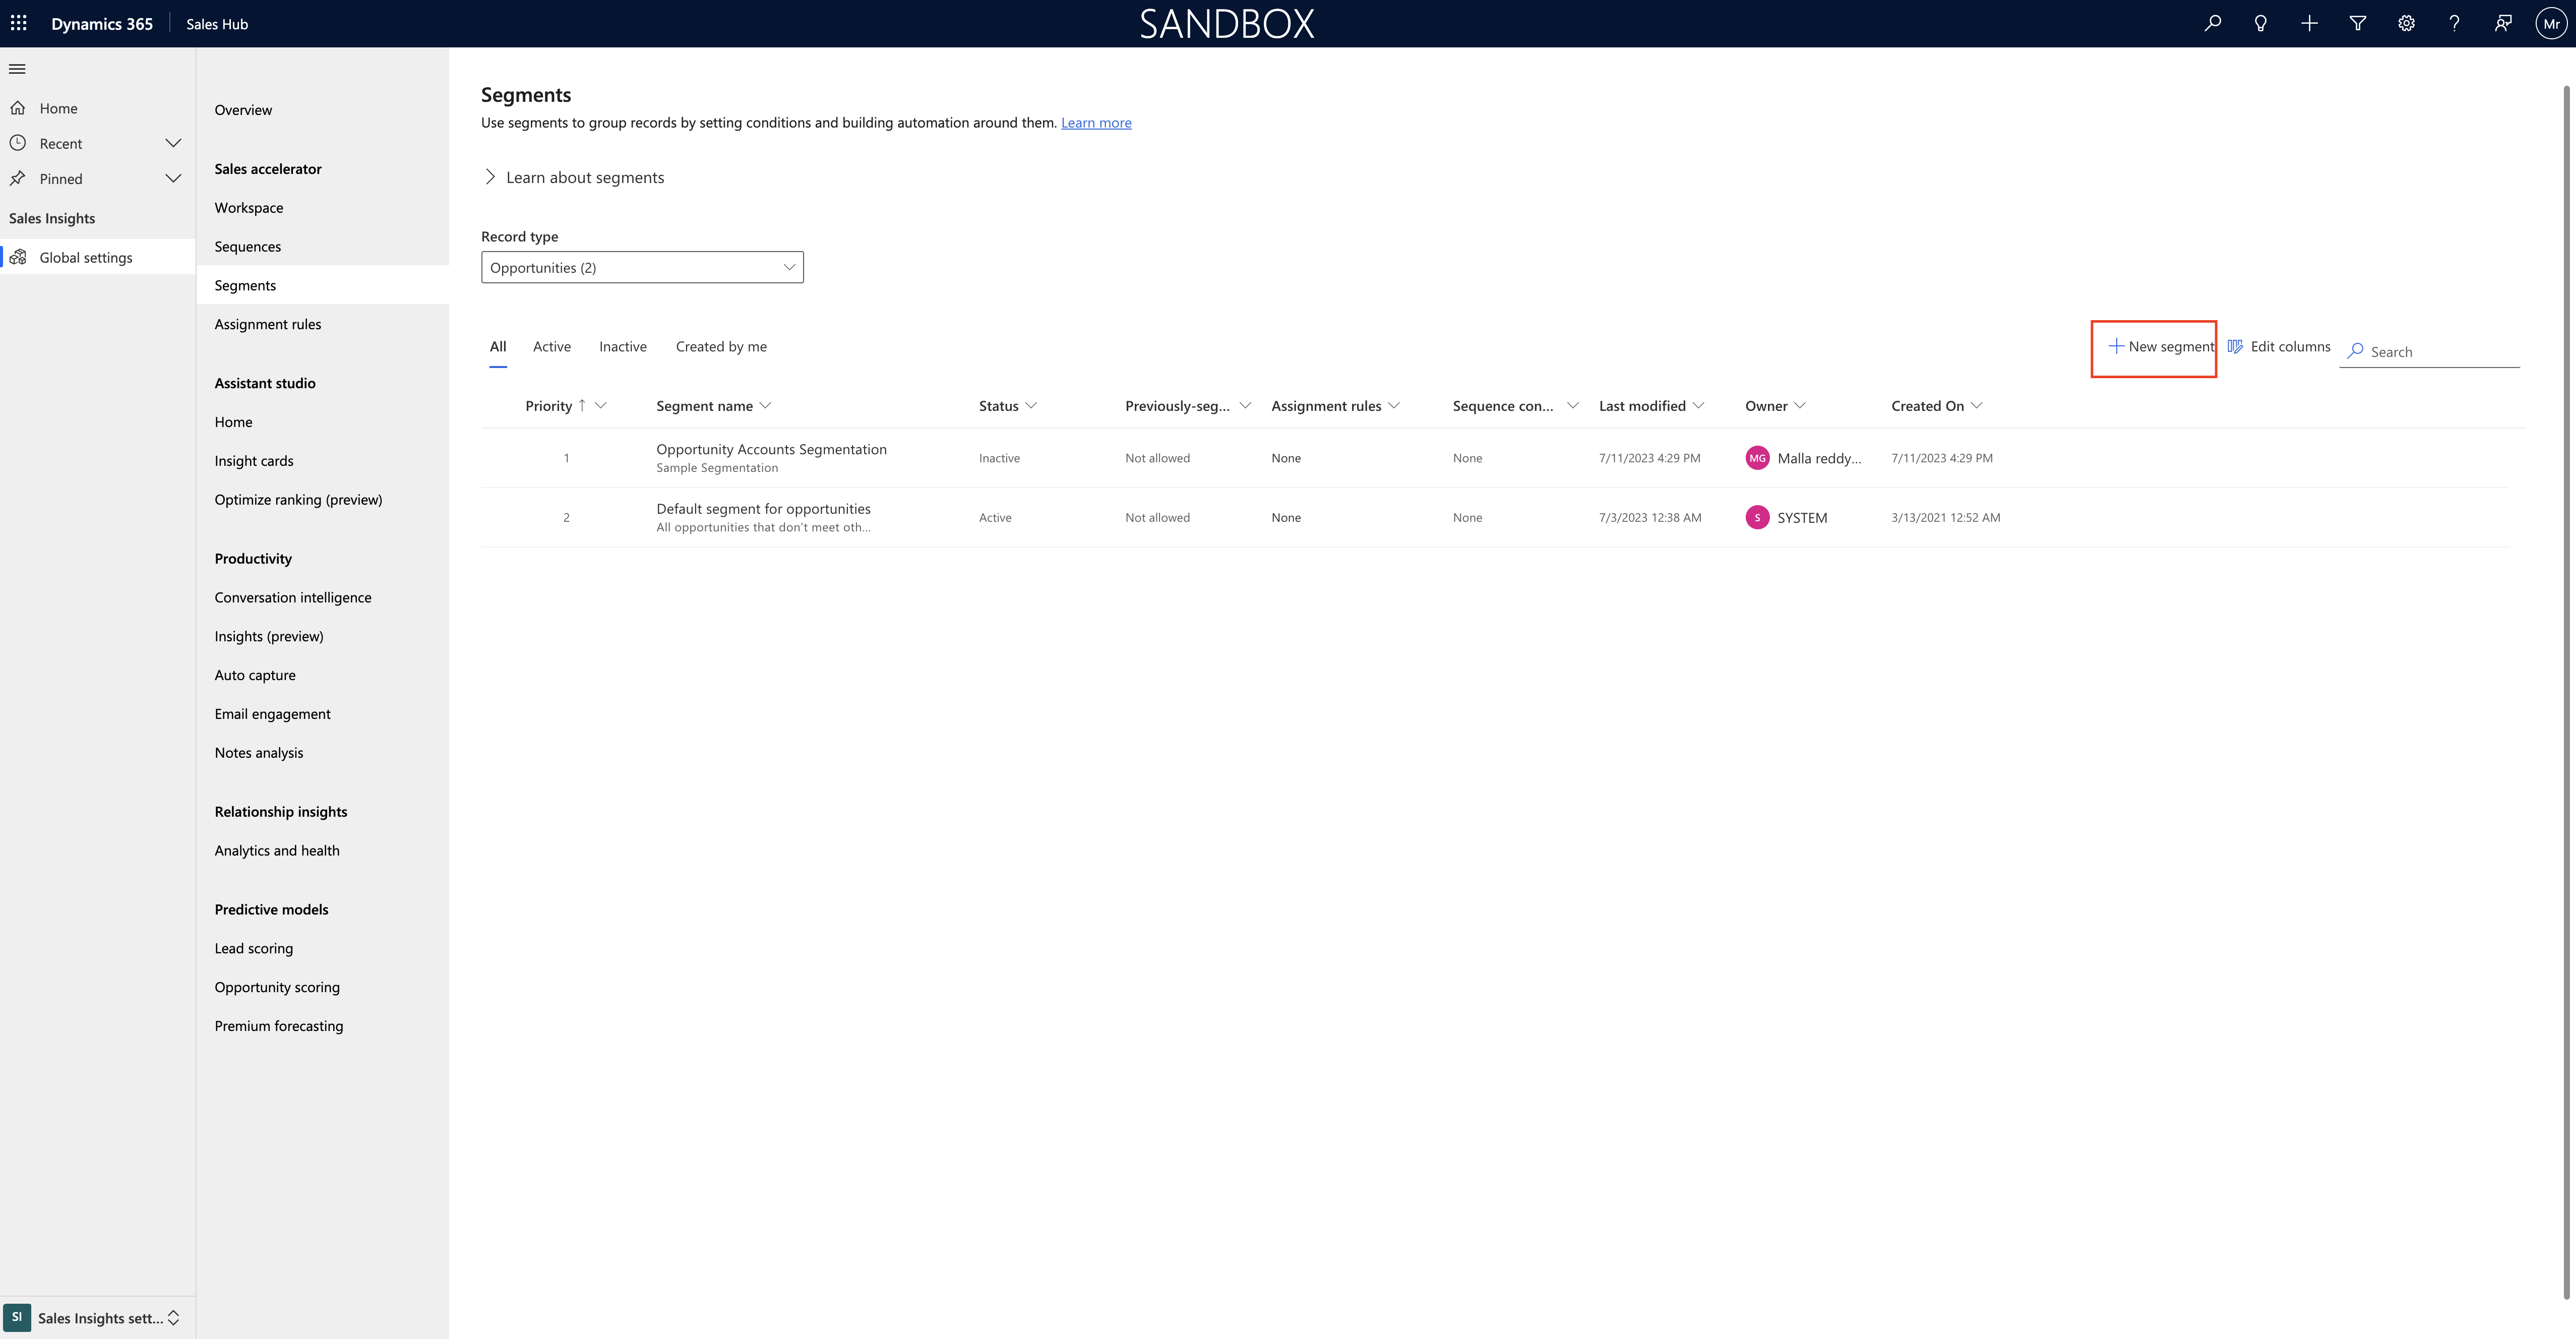
Choose the Record type as Opportunity or Leas and Create a New Segment

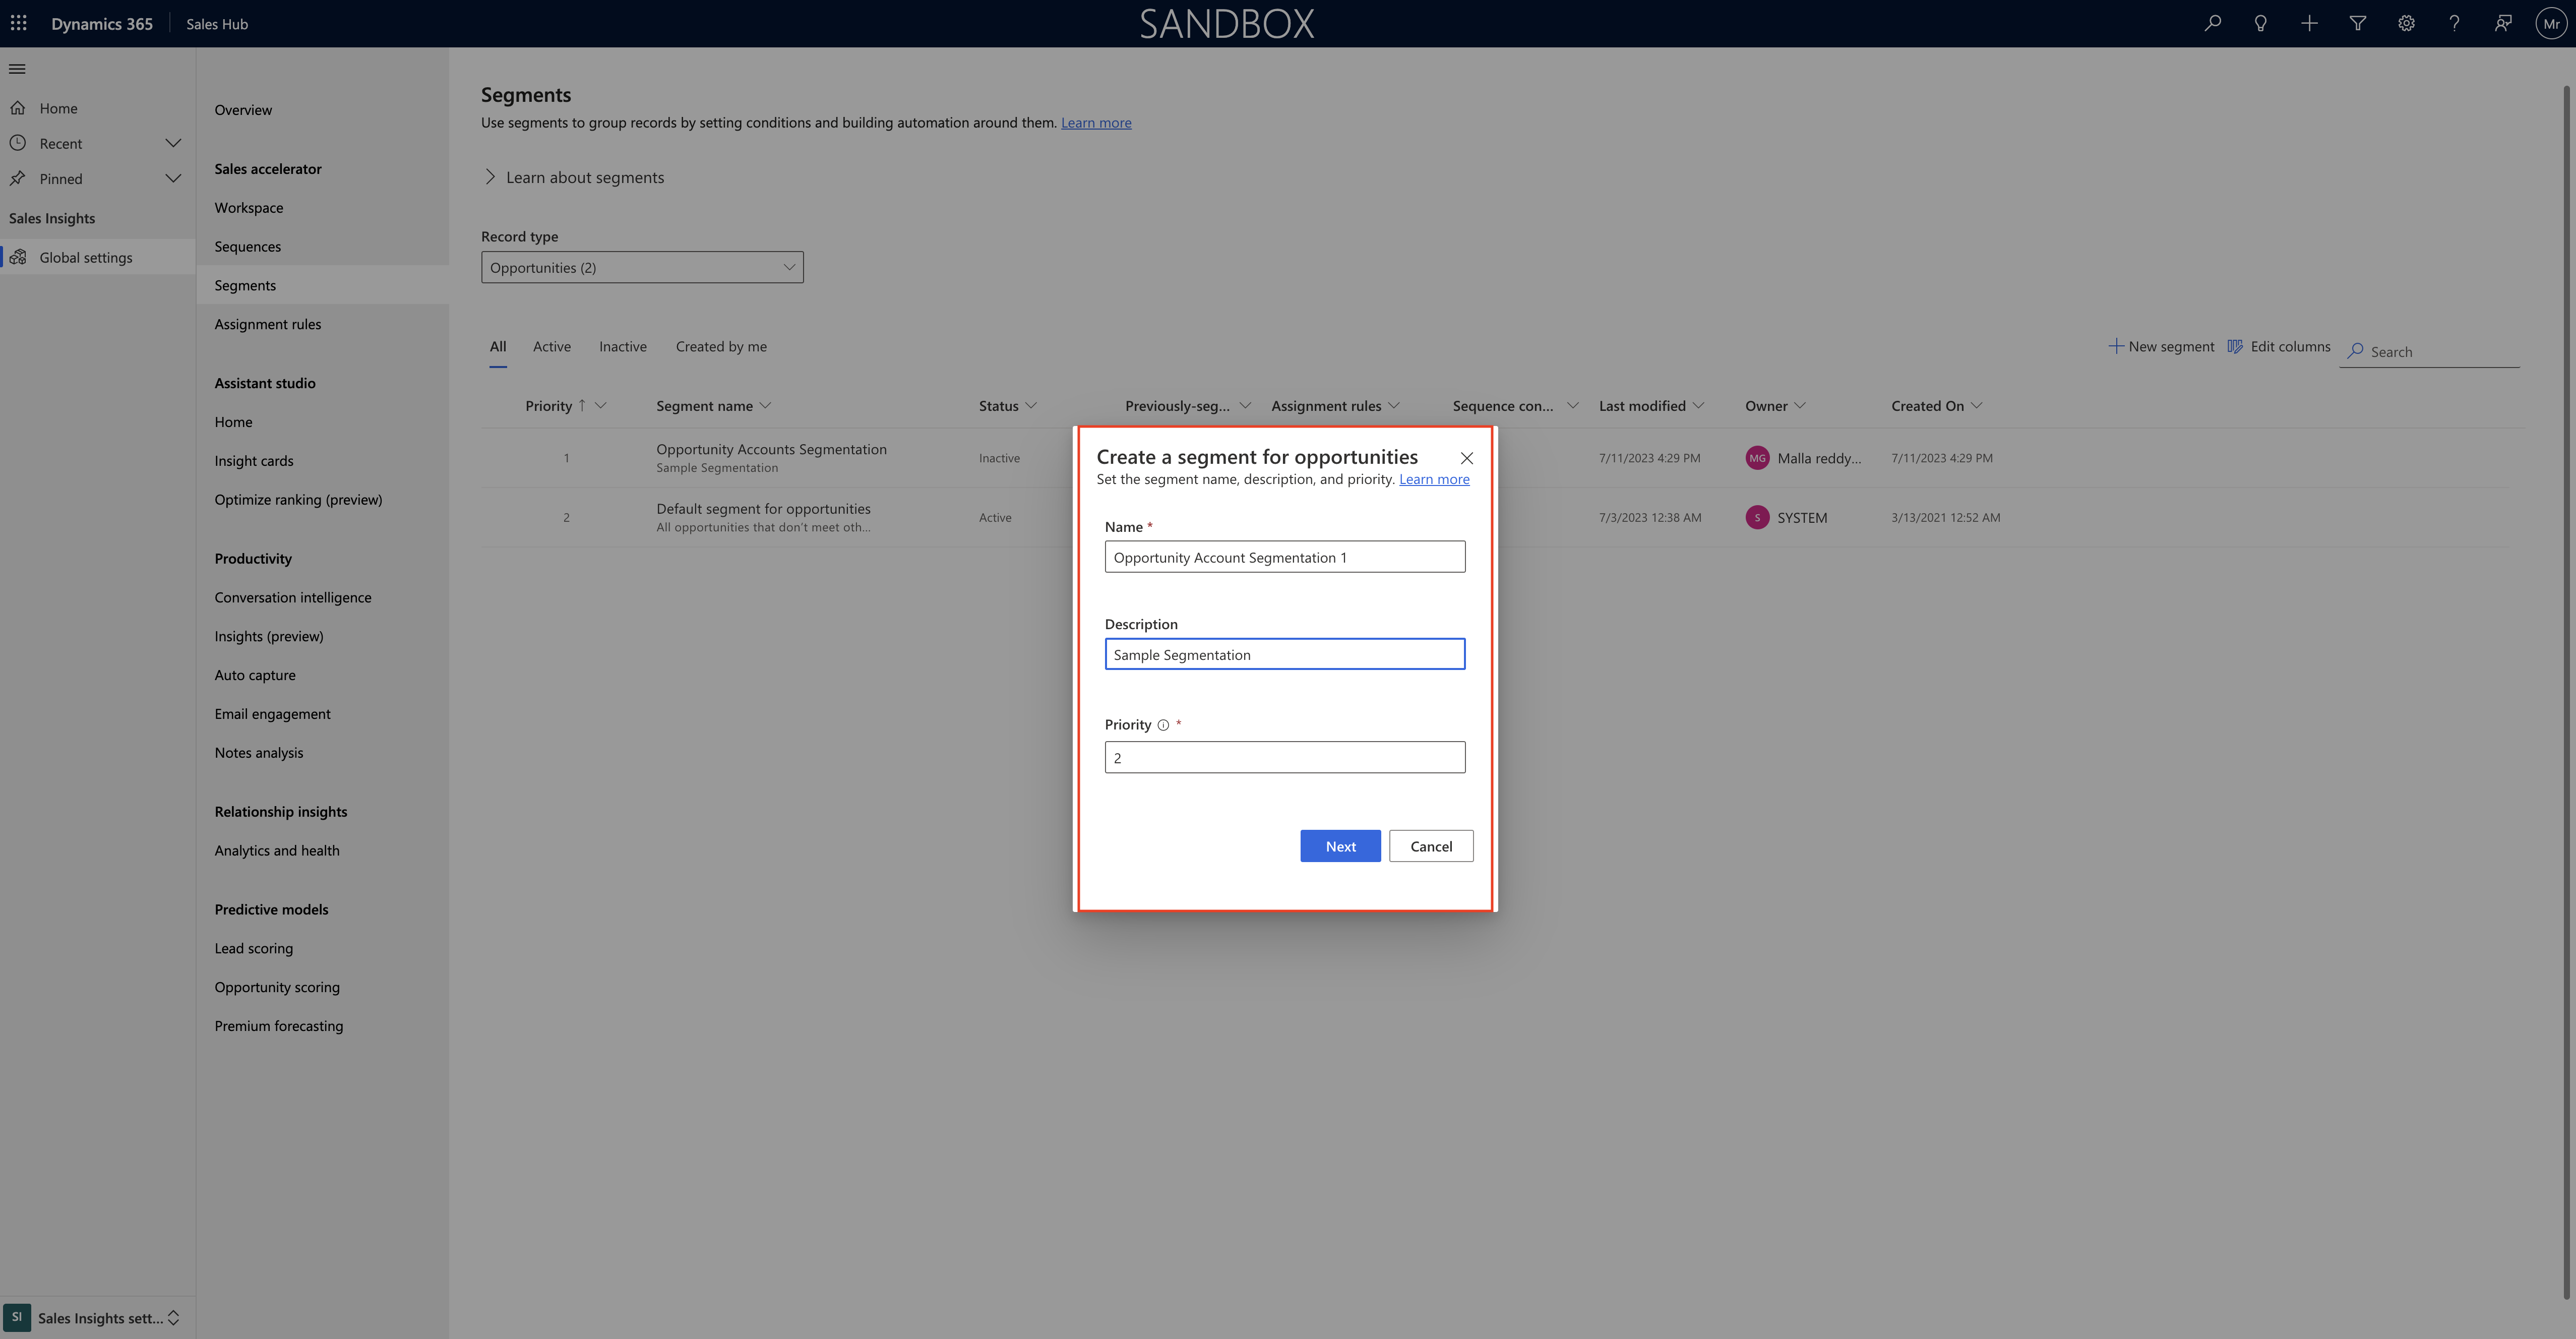
Create a segment for Opportunities:

Name, Description, Priority.

Then check the Allow Opportunities to be moved from other segments to this one and check the box of Update seller assignments as well.

Start creating segmentation using ADD ROW, ADD GROUP, ADD RELATED ENTITY

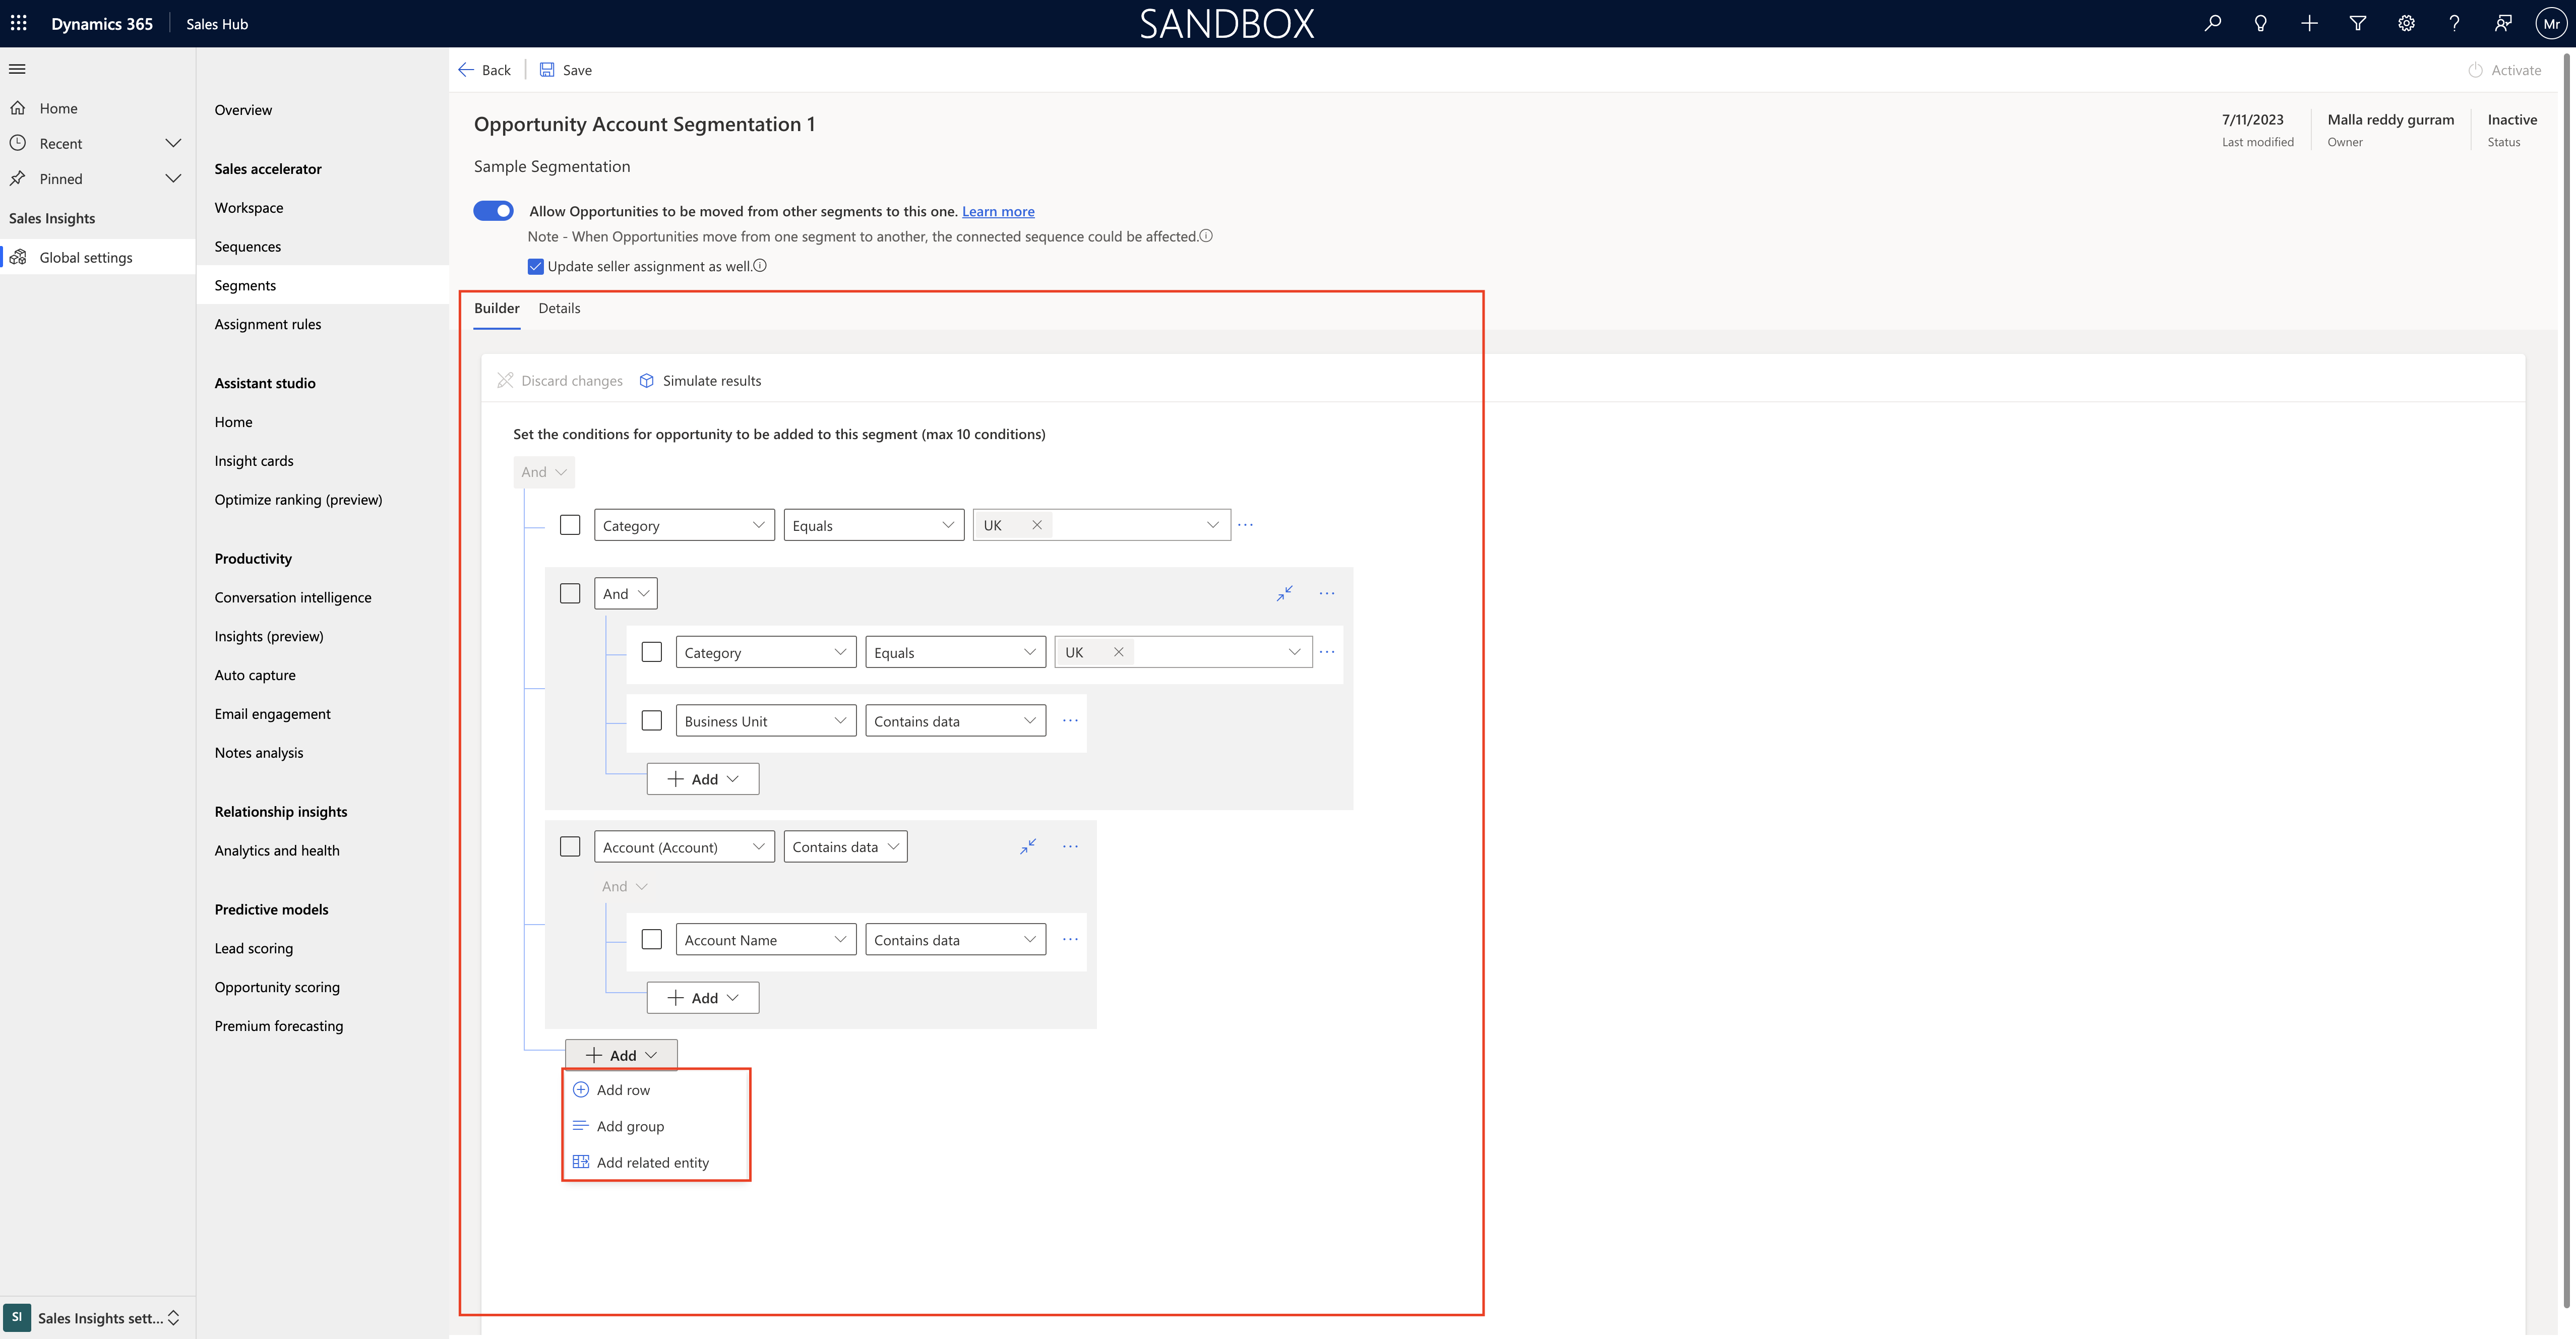
Add row: you can add row conditon, add group or add related entity based on the segmentation condition you would like to see.

Note: you can only have 10 conditions per segment.

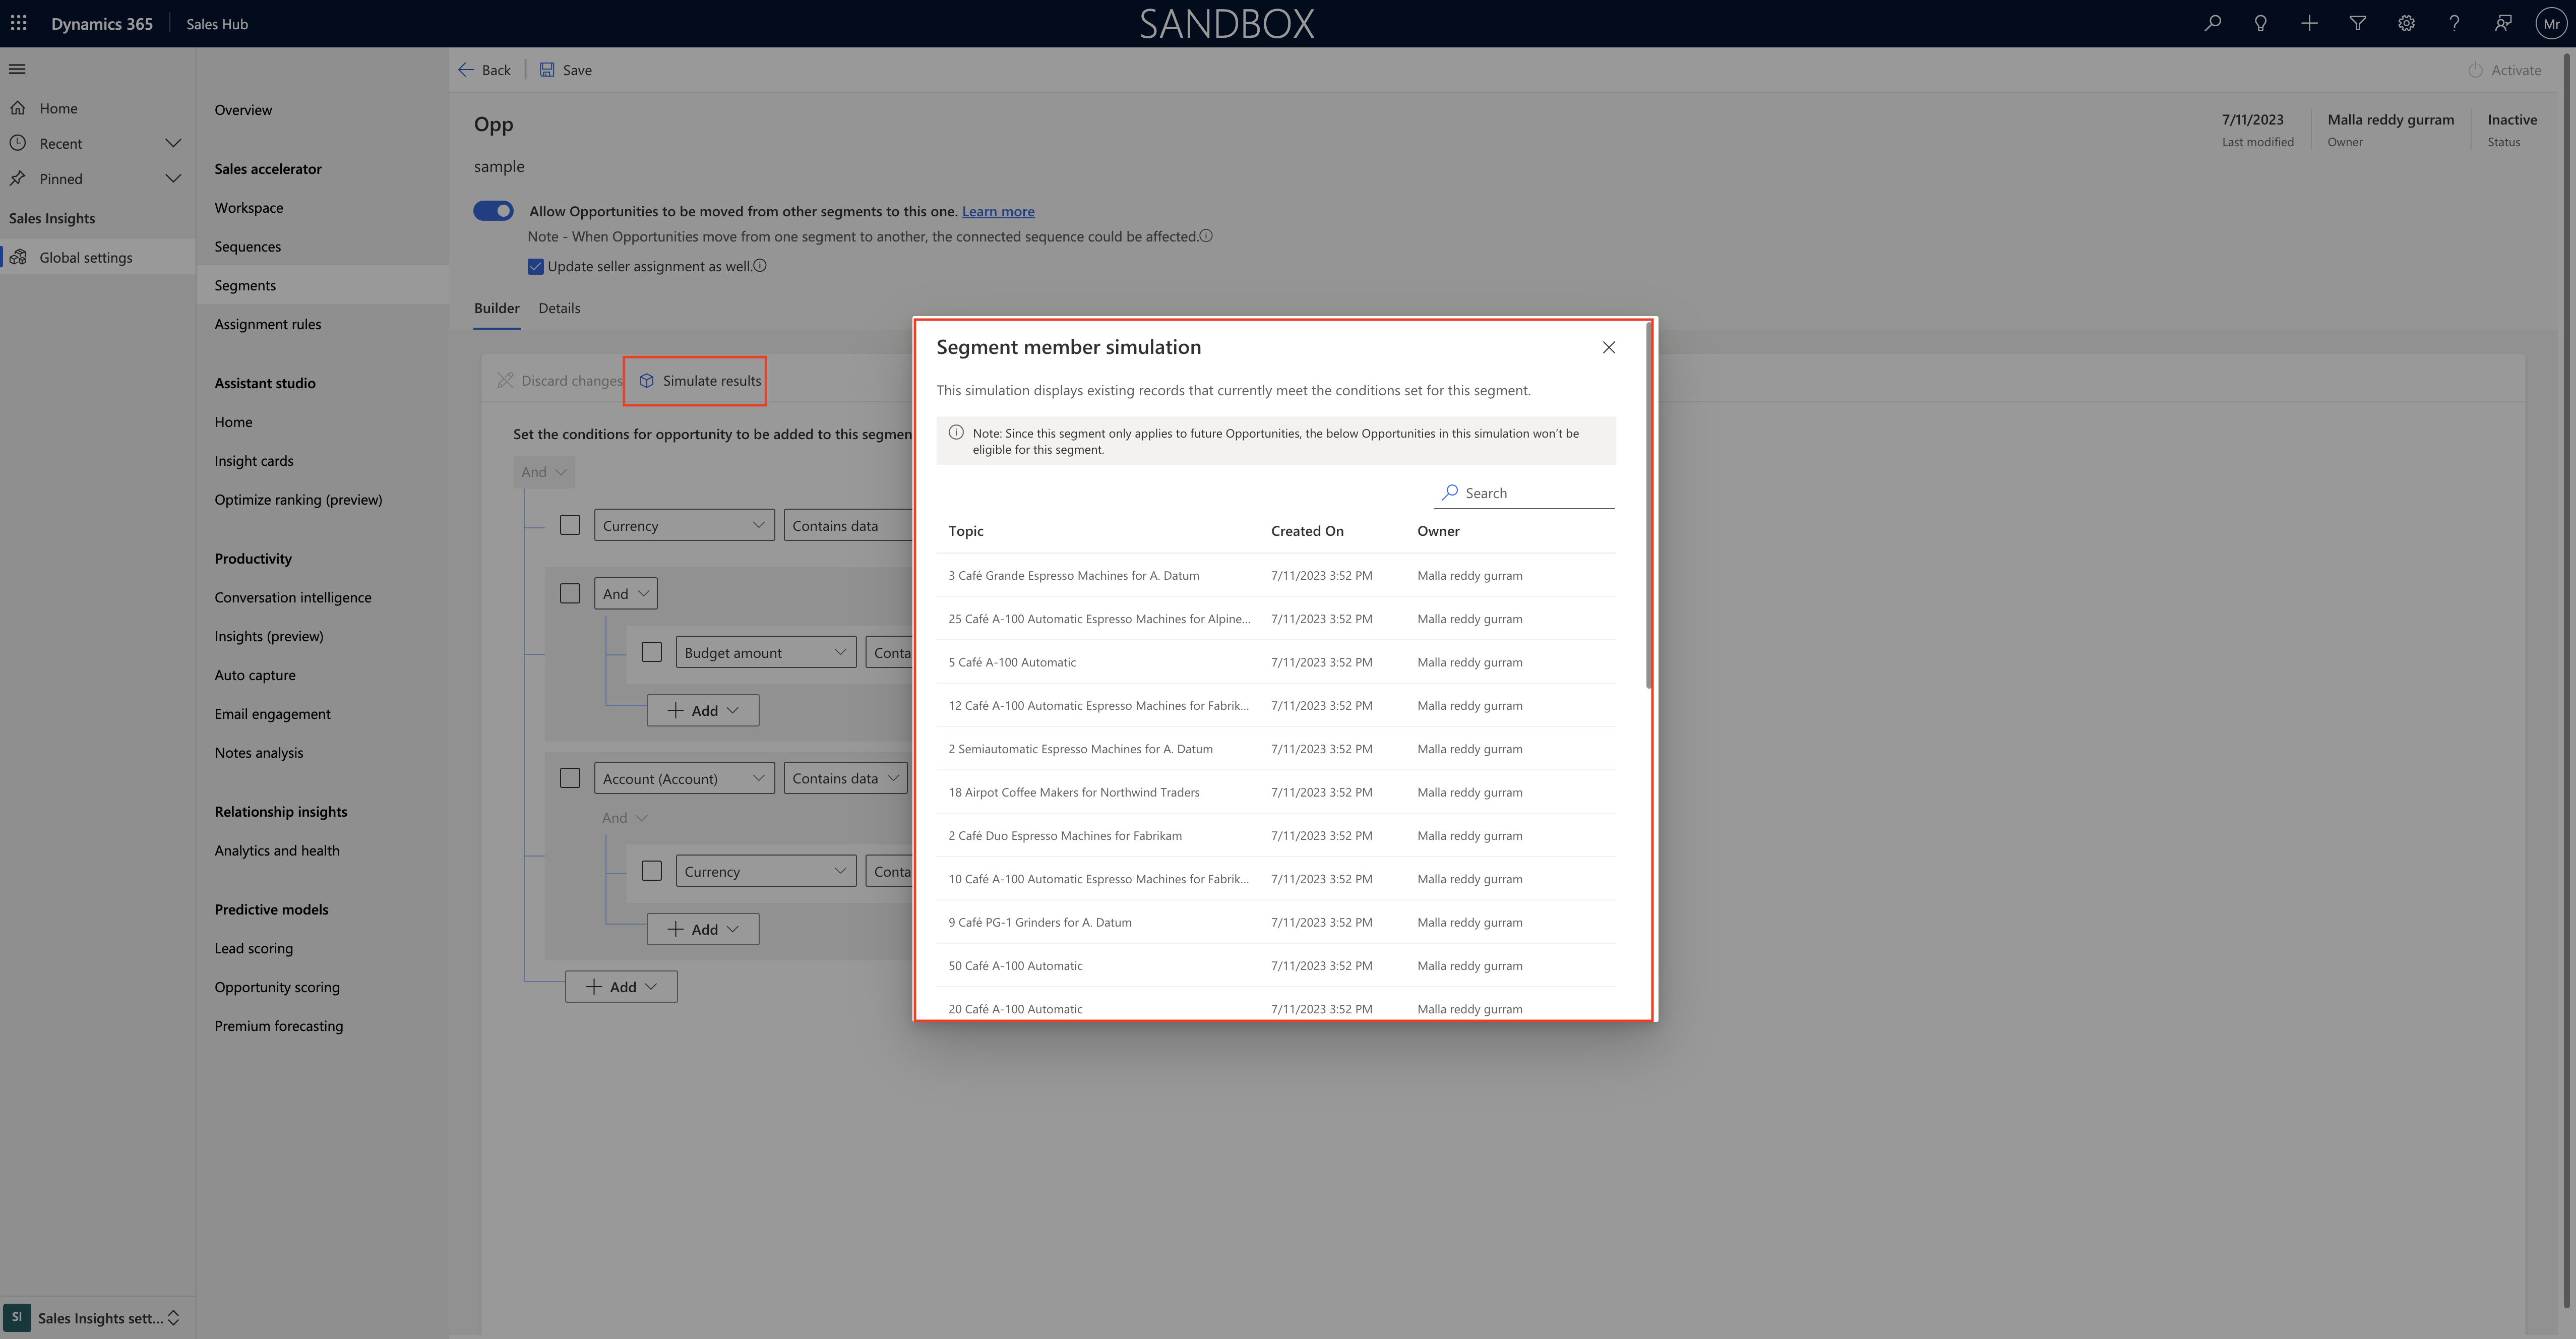
When you set up conditions and you can check whether there is data available for your conditions by clicking on Simulate results.

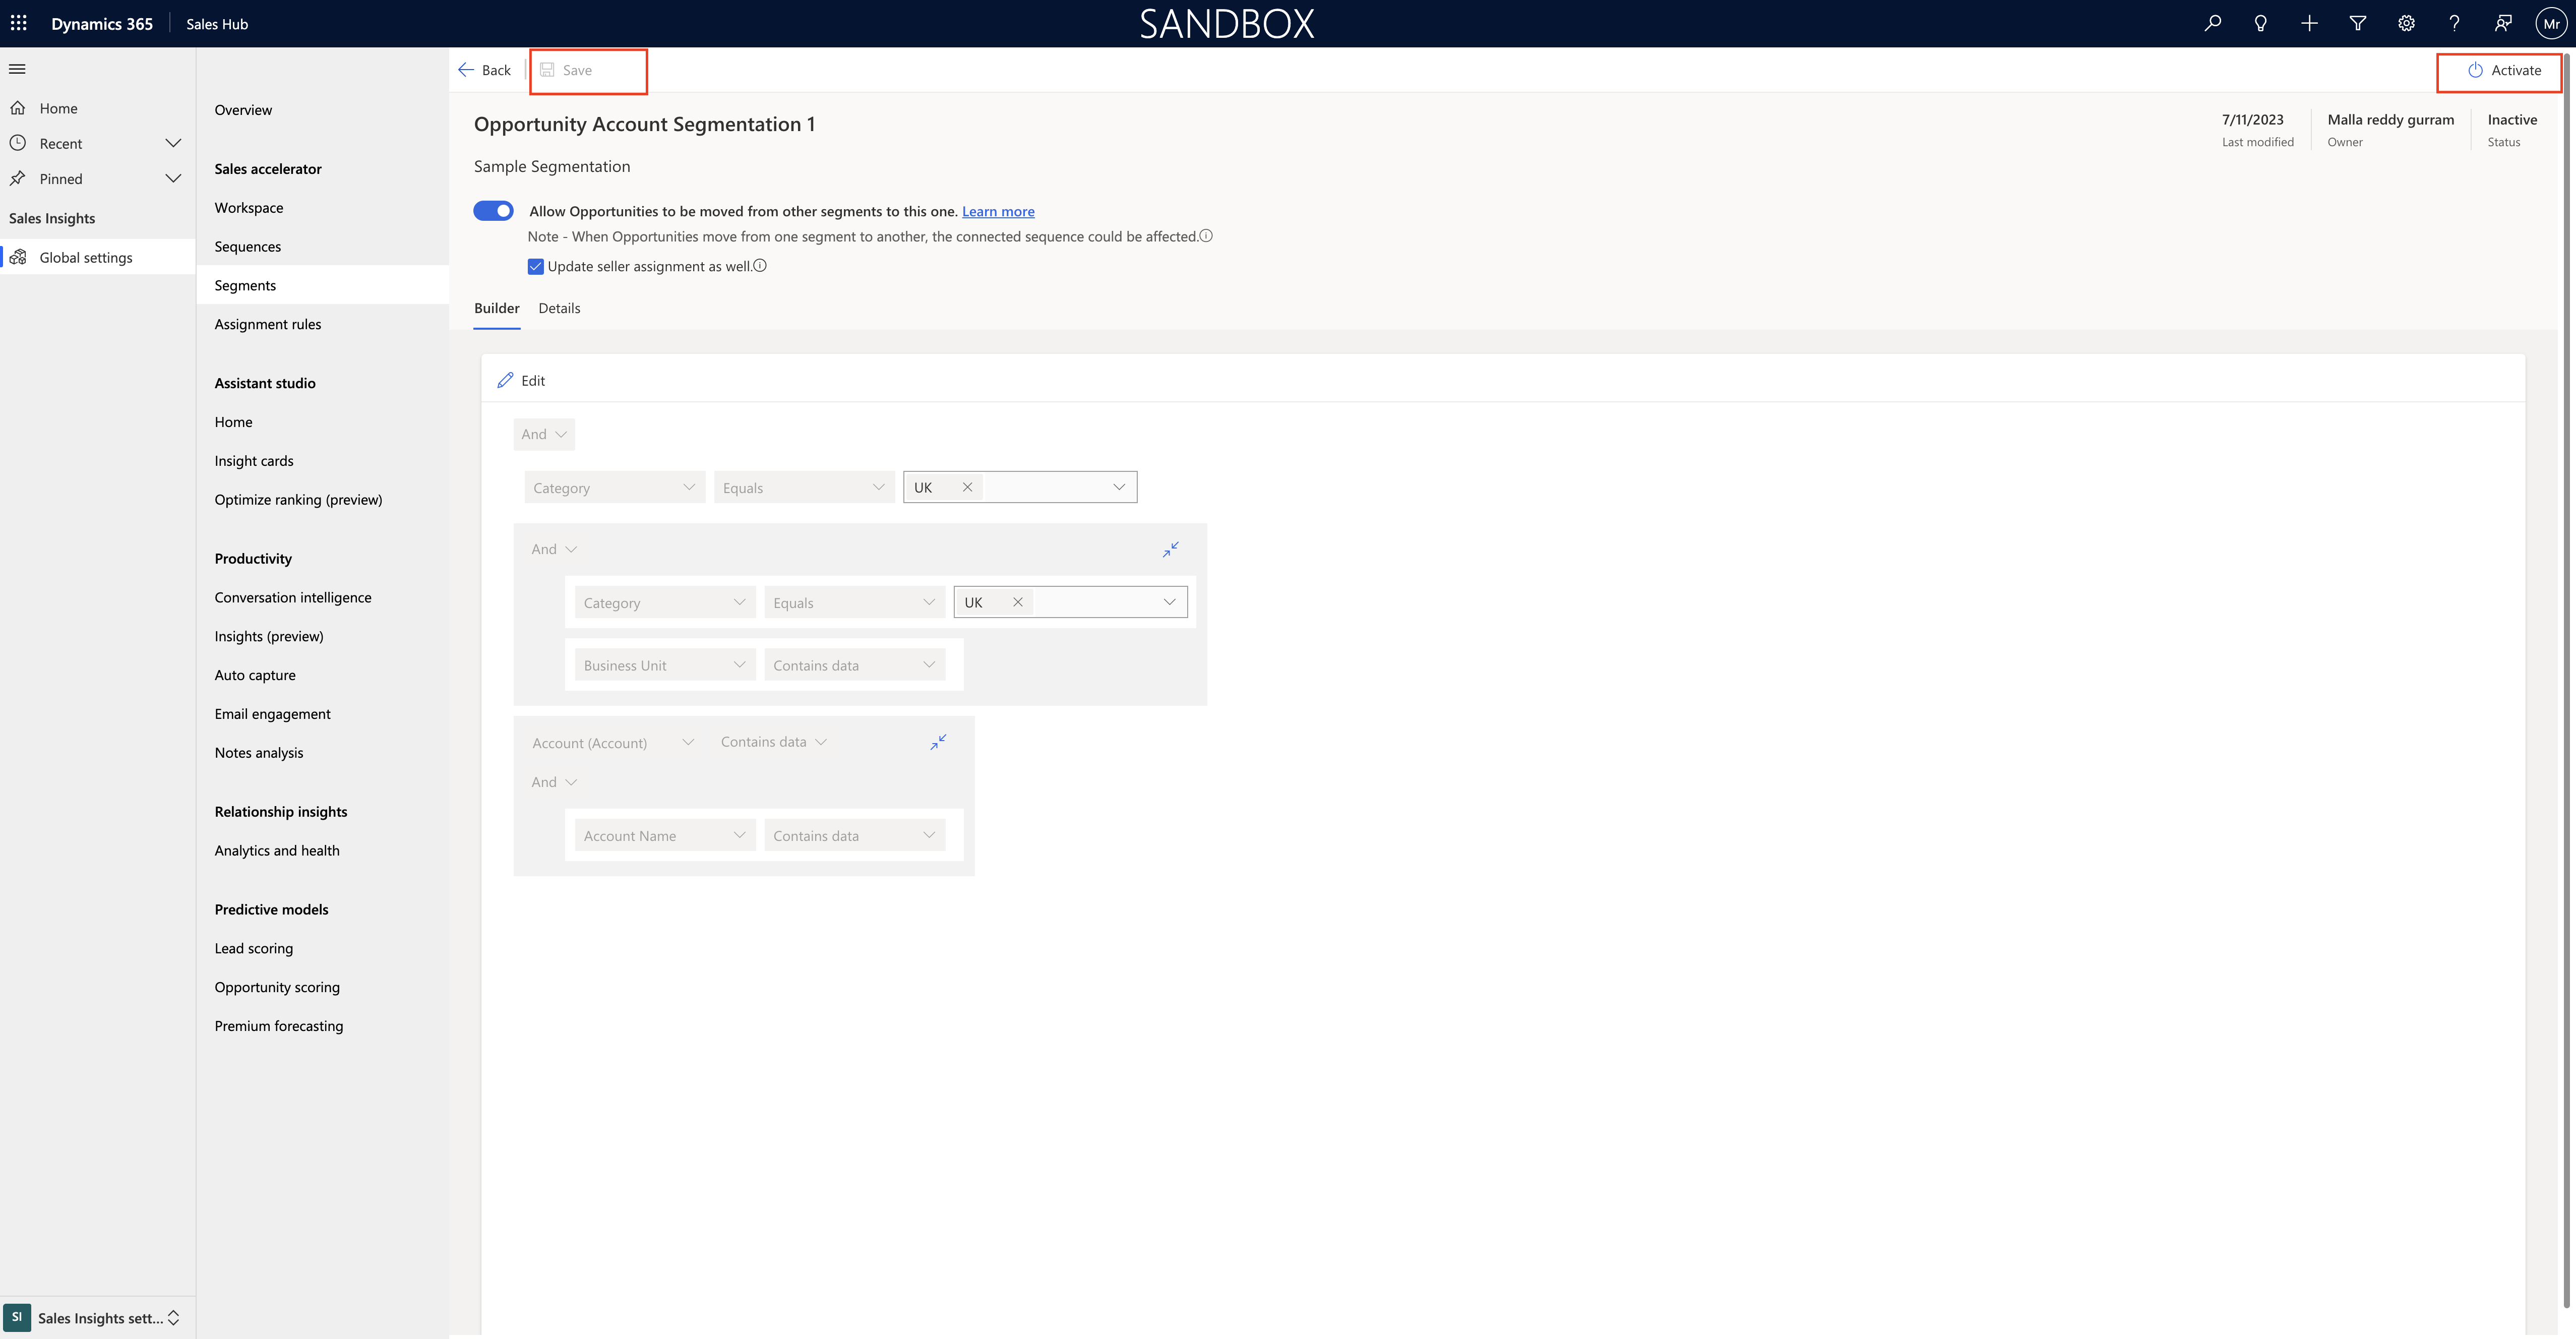
Once you finish the segmentation condition click SAVE and Activate the segment.

Once segment activated and your filter starting working for you.

Thats it for today.

I hope this helps
Malla Reddy(@UK365GUY)
#365BlogPostsin365Days

Share this:

{How to request } Power Apps License from Organisation Admins

Hello Everyone,

Today i am going to show how to request Power Apps Premium License from Organisation Admin.

Let’s gets started.

Suppose you have been shared a Power App and when you run it, you will be prompted that you need a license.

It will prompt to “Request a license” or you can trial 30 days for free.

Once the request is submitted for license a confirmation message will appear at the top of the page saying the request was sucessfully sent to their admin.

User can also request a license while on trial from the top banner of the screen of the power apps screen.

So Admin will be notified of all incoming licensing requests on the Microsoft 365 Home Page.

The admin will check whether to approve or reject the Power Apps Requests at once and include a message for their users.

All Admins can continue to user custom license request process and configure the proper settings in Microsoft 365 Admin Center.

For more information about license request and settings visit here

Thats it for today.

I hope this helps.
Malla Reddy(@UK365GUY)
#365BlogPostsin365Days

Share this: